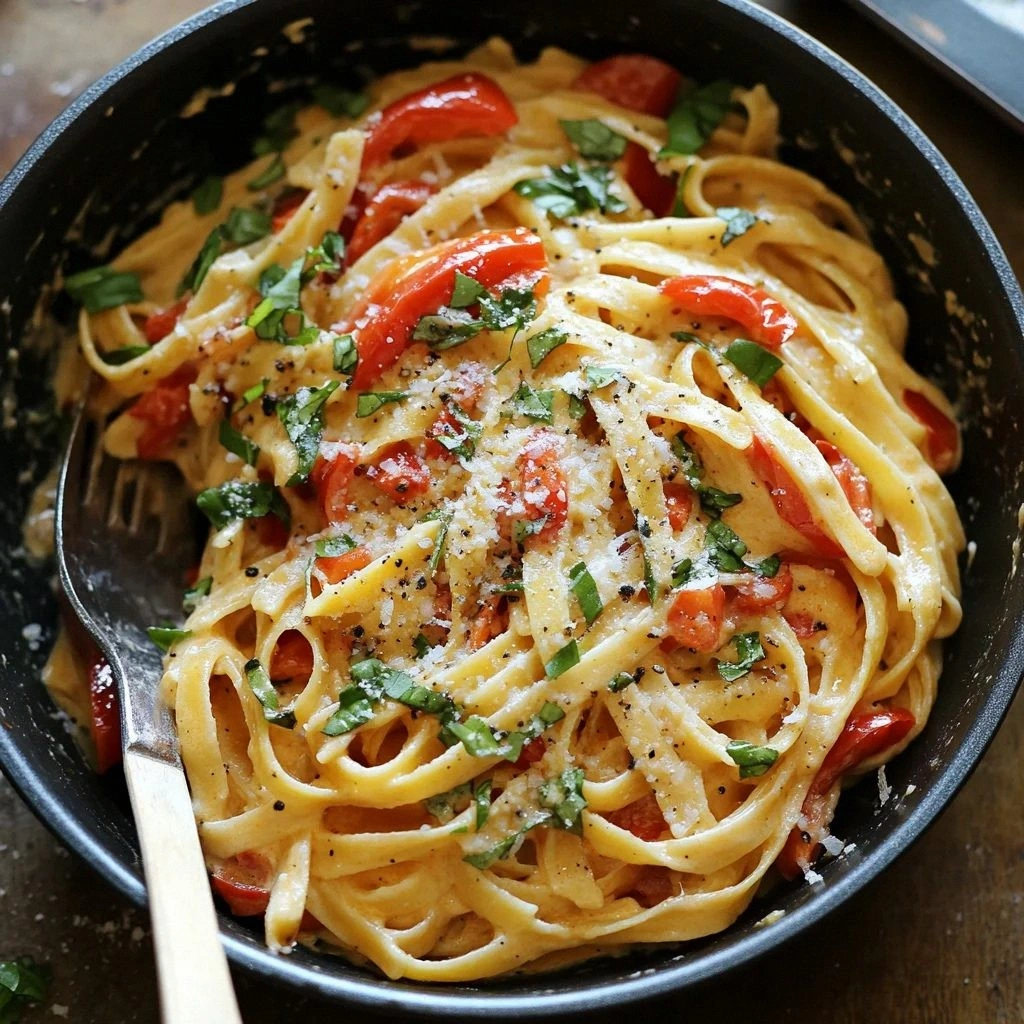
I was halfway through a dinner party, juggling a pot of boiling pasta and a pan of sautéed onions, when the kitchen exploded into a scene straight out of a sitcom. A rogue spoon slipped, sending a splash of cream into the air, and I could almost hear the collective gasp as the sauce turned from silky to a sticky, disastrous mess. That moment was a wake‑up call: I needed a recipe that could rescue the evening, a dish that was both forgiving and unforgettable. So I set out to craft the ultimate creamy pasta with peas, a recipe that would turn a culinary catastrophe into applause.
The aroma of butter and garlic drifting from the pan was almost too good to be true. I could taste the faint sweetness of peas mingling with the sharp tang of Parmesan, while the gentle heat of a pinch of chili flakes promised a subtle kick. The sound of the sauce bubbling was like a soothing lullaby, and the sight of the pasta shimmering in its velvety coating felt like a promise of comfort. I could feel the heat from the stove against my skin, and the anticipation of the first bite was almost palpable. It was a sensory symphony that made me realize this dish could be a game‑changer.
What makes this version stand out is that it’s not just creamy—it’s a harmonious marriage of textures and flavors that dance together. The peas provide a pop of green and a burst of sweetness that cuts through the richness, while the butter and cream create a silky base that coats each strand like velvet. The Parmesan adds a nutty depth that lingers, and a whisper of nutmeg ties everything together with a subtle warmth. I dare you to taste this and not go back for seconds; the first bite will convince you that this is hands down the best version you'll ever make at home. If you've ever struggled with bland pasta, you're not alone—and I've got the fix.
Picture yourself pulling this out of the oven, the whole kitchen smelling incredible, and guests already lining up for a taste. The secret? A few micro‑challenges and a bold claim that this sauce will never let you down. I’ll be honest—my first attempt had me eating half the batch before anyone else got a spoon. But after tweaking the technique, the result was pure magic. Stay with me here—this is worth it.
What Makes This Version Stand Out
- Texture: The sauce clings to the pasta, creating a mouth‑watering coating that feels like a cloud of comfort. It’s creamy without being cloying, striking the perfect balance.
- Flavor: The combination of fresh peas, garlic, and a hint of nutmeg elevates the dish beyond ordinary creaminess. Every bite carries a subtle complexity that keeps you coming back.
- Ease: With a single pan and a few simple steps, you can achieve a restaurant‑style sauce that feels effortless. The method is foolproof, even for kitchen newbies.
- Versatility: This recipe works as a main or a side, and it pairs beautifully with grilled chicken or a crisp salad. It’s the kind of dish that adapts to any occasion.
- Time Efficiency: From prep to plate, the entire process takes under 45 minutes. That’s more than enough time to impress without stressing.
- Ingredient Quality: Using high‑quality butter, fresh garlic, and real Parmesan elevates the dish to a level that feels indulgent yet accessible.
Alright, let's break down exactly what goes into this masterpiece. I’ll walk you through each element so you can replicate the magic.
Inside the Ingredient List
The Flavor Base
Garlic is the heart of this sauce; it brings depth and a subtle bite that cuts through the richness. Freshly minced garlic releases essential oils that give the dish an aromatic lift. If you’re a garlic lover, double the cloves for an extra punch. If you’re wary of raw garlic, sauté it just until fragrant to mellow its intensity.
The Texture Crew
Butter and heavy cream work together to create a silky, luscious coating that envelops every strand of pasta. The butter adds richness, while the cream gives body and a glossy finish. Keep the heat moderate so the cream doesn’t curdle; a gentle simmer is key. If you prefer a lighter version, swap half the cream for milk.
The Unexpected Star
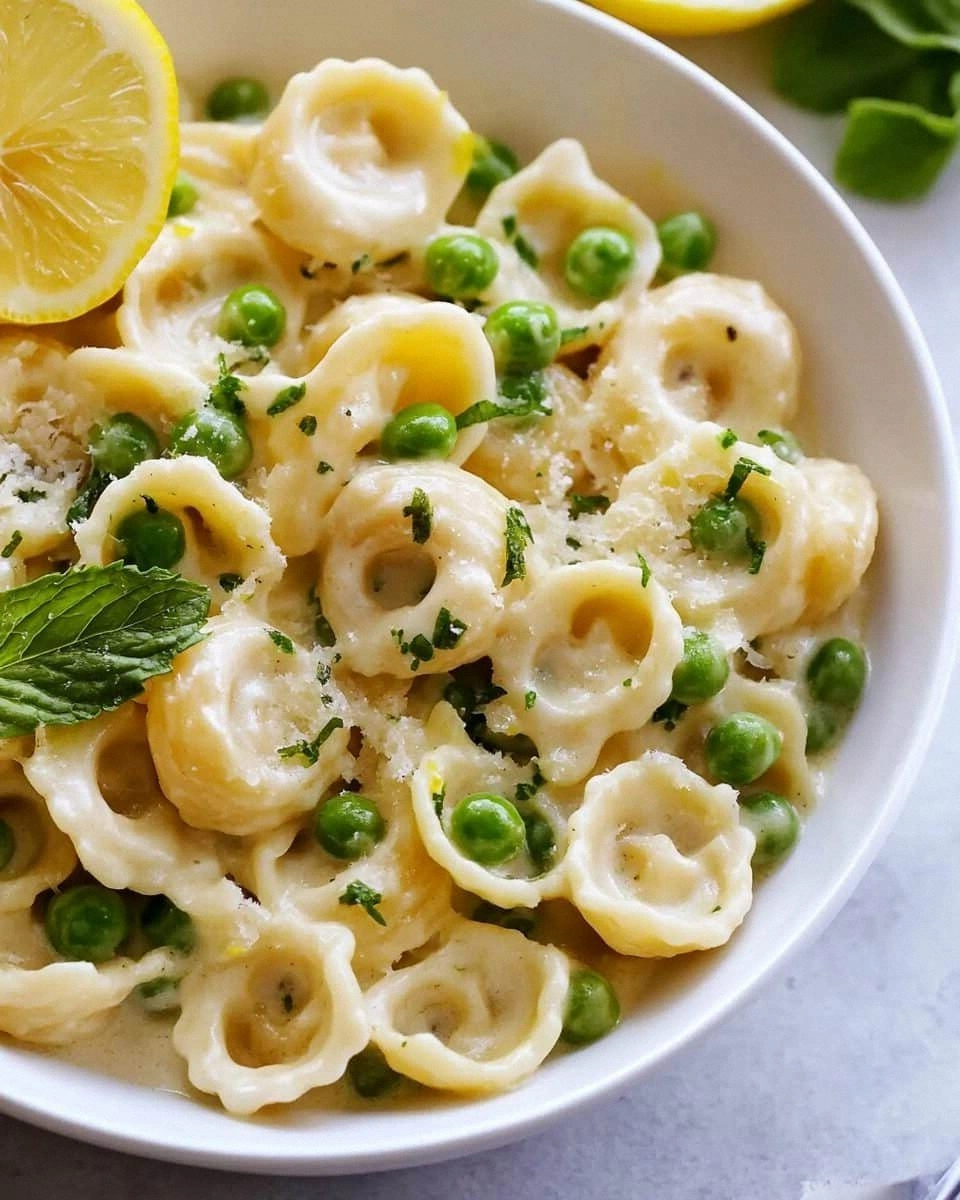
Peas are the dish’s secret weapon, offering a pop of color and a natural sweetness that balances the sauce. Frozen peas are convenient, but fresh ones give a brighter flavor and a firmer bite. A quick blanch before adding them preserves their vibrant hue. If you’re in a pinch, a handful of frozen peas is just fine.
The Final Flourish
Parmesan cheese is the finishing touch that adds a nutty, savory note. Grate it finely so it melts smoothly into the sauce. A pinch of nutmeg or a dash of chili flakes can elevate the dish with subtle warmth or heat. Salt and pepper are essential to bring out the flavors; taste as you go.
Everything's prepped? Good. Let's get into the real action and watch the magic unfold.
The Method — Step by Step
- Boil the pasta. Bring a large pot of salted water to a rolling boil and add the pasta. Cook until al dente, usually 1 minute less than the package instructions. Reserve a cup of pasta water before draining. This starchy water will help the sauce cling to the noodles.
- Prep the peas. While the pasta cooks, bring a small pot of water to a boil and add the peas. Cook for 2–3 minutes until bright green and tender. Drain and set aside, or if using frozen peas, skip this step and simply rinse them under cold water.
- Start the sauce. In a large skillet, melt the butter over medium heat. Add the minced garlic and sauté until fragrant, about 30 seconds. Be careful not to let the garlic brown; it should stay pale and aromatic.
- Add the cream. Pour in the heavy cream and stir to combine with the butter‑garlic mixture. Let it simmer gently for 2 minutes, allowing the flavors to meld. The sauce should thicken slightly but remain pourable.
- Season the sauce. Stir in the grated Parmesan, a pinch of nutmeg, and a dash of chili flakes if using. Add salt and pepper to taste. Keep the heat low so the cheese melts smoothly without clumping.
- Combine pasta and sauce. Return the drained pasta to the skillet and toss to coat evenly. Add the peas and a splash of reserved pasta water to loosen the sauce if needed. This step is the moment of truth—watch the noodles glisten.
- Watch Out: Be cautious not to over‑cook the pasta after adding the sauce; it should remain al dente. If the sauce starts to separate, reduce the heat to a low simmer and stir constantly.
- Serve immediately. Plate the pasta while it's hot and creamy. Garnish with a sprinkle of extra Parmesan and a few fresh peas for color. The dish should feel like a warm hug with each bite.
That's it — you did it. But hold on, I've got a few more tricks that'll take this to another level. These insider secrets will elevate the dish from good to unforgettable.
Insider Tricks for Flawless Results
The Temperature Rule Nobody Follows
Keep the sauce at a low, steady simmer. High heat can cause the cream to split, ruining the silky texture. If you notice the sauce thickening too quickly, add a teaspoon of pasta water to restore its smoothness. This small adjustment can make the difference between a clumpy mess and a flawless finish.
Why Your Nose Knows Best
Smell the sauce as it cooks; a subtle buttery aroma indicates the perfect stage. If it starts smelling burnt, reduce the heat immediately. Your nose is a reliable guide to avoid over‑cooking or burning the garlic.
The 5-Minute Rest That Changes Everything
After plating, let the pasta rest for 5 minutes before serving. This allows the sauce to settle and the flavors to meld. A brief rest also ensures the noodles are perfectly al dente, not overcooked.
The Secret of Fresh Peas
If you can find fresh peas, blanch them briefly and shock them in ice water to lock in color and sweetness. Fresh peas give the dish a brighter, more vibrant taste compared to frozen. It’s a small step that makes the dish feel like a gourmet experience.
The One‑Minute Butter Finish
Just before serving, toss the pasta with a tablespoon of cold butter. The butter will melt into the sauce, creating a glossy finish that looks and tastes like a Michelin‑star plate. It’s a simple addition that elevates the dish instantly.
With these tricks in your culinary arsenal, you’ll never settle for anything less than perfect. They’re the little details that turn a good meal into a memorable one.
Creative Twists and Variations
This recipe is a playground. Here are some of my favorite ways to switch things up:
Spinach & Mushroom Fusion
Add sautéed mushrooms and fresh spinach to the sauce for earthy depth. The mushrooms’ umami pairs beautifully with the creamy base, while spinach offers a nutritional boost. Serve over fettuccine for a hearty feel.
Citrus Zest Upgrade
Finish the sauce with a squeeze of lemon and a sprinkle of zest. The citrus brightness cuts through the richness, giving the dish a lively lift. It’s perfect for a summer dinner when you want a lighter bite.
Smoked Salmon Touch
Fold in smoked salmon after the sauce is finished. The salty, smoky flavor adds an elegant twist that’s ideal for a special occasion. Pair with a crisp white wine for a refined dinner.
Pesto Infusion
Replace half the cream with basil pesto for a green, herbaceous variation. The pesto’s vibrant flavor complements the peas and adds a fresh, aromatic layer. This version is great for a quick weeknight meal.
Spicy Cajun Kick
Stir in a teaspoon of Cajun seasoning and a pinch of cayenne pepper for a bold, spicy flavor. The heat balances the creamy sweetness, creating a dynamic taste profile. It’s a crowd‑pleaser for those who like a bit of fire.
Vegan Creamy Delight
Swap the heavy cream for coconut milk and the Parmesan for nutritional yeast. This vegan version retains the creamy texture while offering a subtle coconut flavor. It’s a comforting, plant‑based alternative that still satisfies.
These variations keep the base fresh and exciting, allowing you to tailor the dish to your mood or the ingredients you have on hand. Experimenting is part of the fun.
Storing and Bringing It Back to Life
Fridge Storage
Store leftovers in an airtight container for up to 3 days. Keep the pasta separate from the sauce if possible to prevent sogginess. When ready to eat, gently reheat on low heat while adding a splash of water.
Freezer Friendly
Freeze cooked pasta and sauce separately in freezer‑safe bags for up to 2 months. Thaw overnight in the refrigerator, then reheat with a little milk to restore creaminess. This method preserves texture and flavor.
Best Reheating Method
Reheat the pasta on the stove over low heat, stirring frequently. Add a small splash of water or milk to loosen the sauce and prevent it from drying out. Finish with a sprinkle of Parmesan for that fresh finish.
A tiny splash of water before reheating is a quality‑saving trick that steams the dish back to perfection. These simple steps ensure your leftovers taste as good as the first bite.