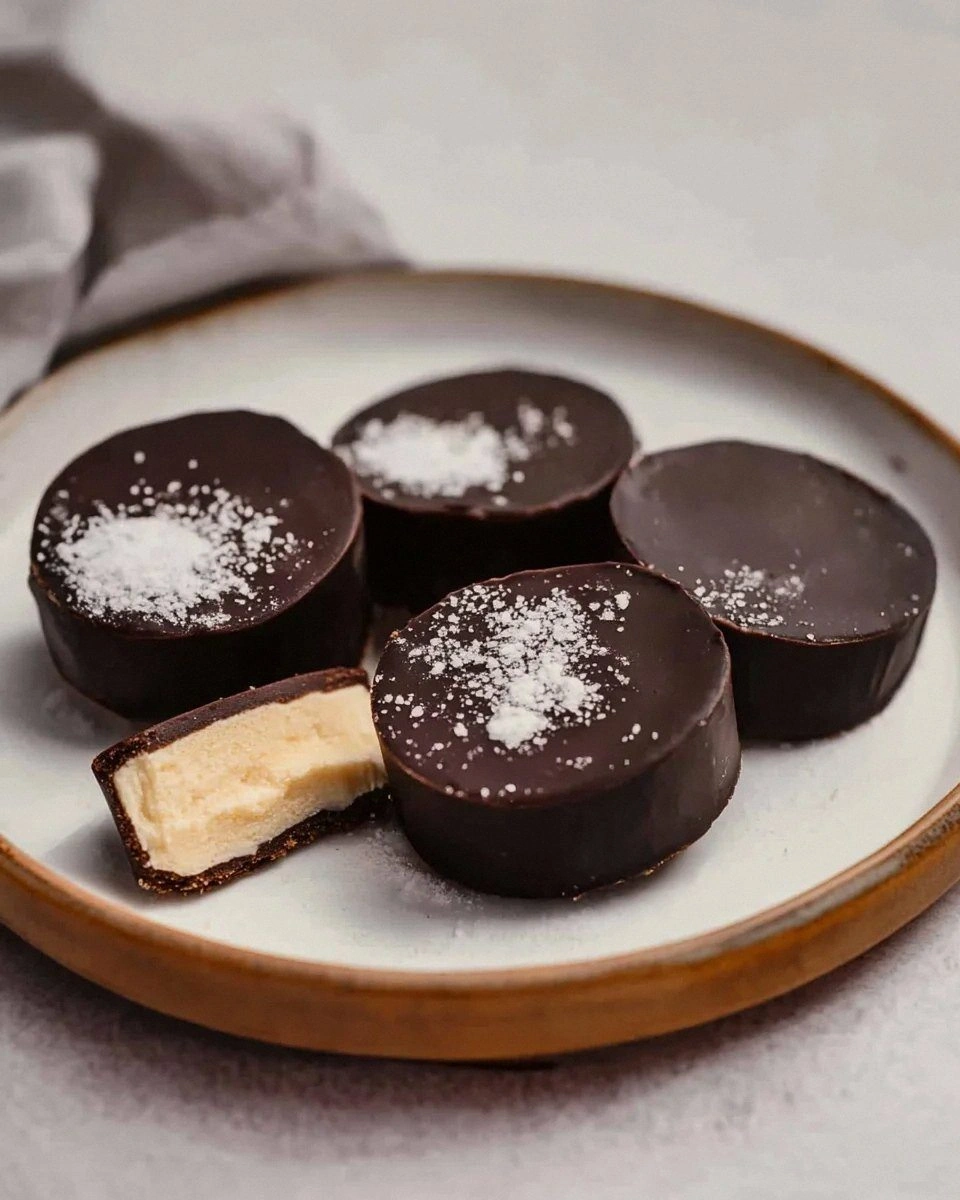
The first time I tried to whip up a quick breakfast for my roommate, I ended up with a soggy, bland loaf that could only be described as a culinary disappointment. I stared at the mixing bowl, realizing that the only thing that could salvage the situation was an idea that had been simmering in my mind for weeks: a scone that’s as crunchy as a granola bar and as fluffy as a cloud, but with only five ingredients. This isn’t just another “quick bake” recipe; it’s a revelation that turns a rushed morning into a moment of pure delight. The kitchen smelled of citrus and toasted oats, the sound of the mixer spinning like a tiny drum, and the anticipation of that first bite that will make you forget you ever had a bad day.
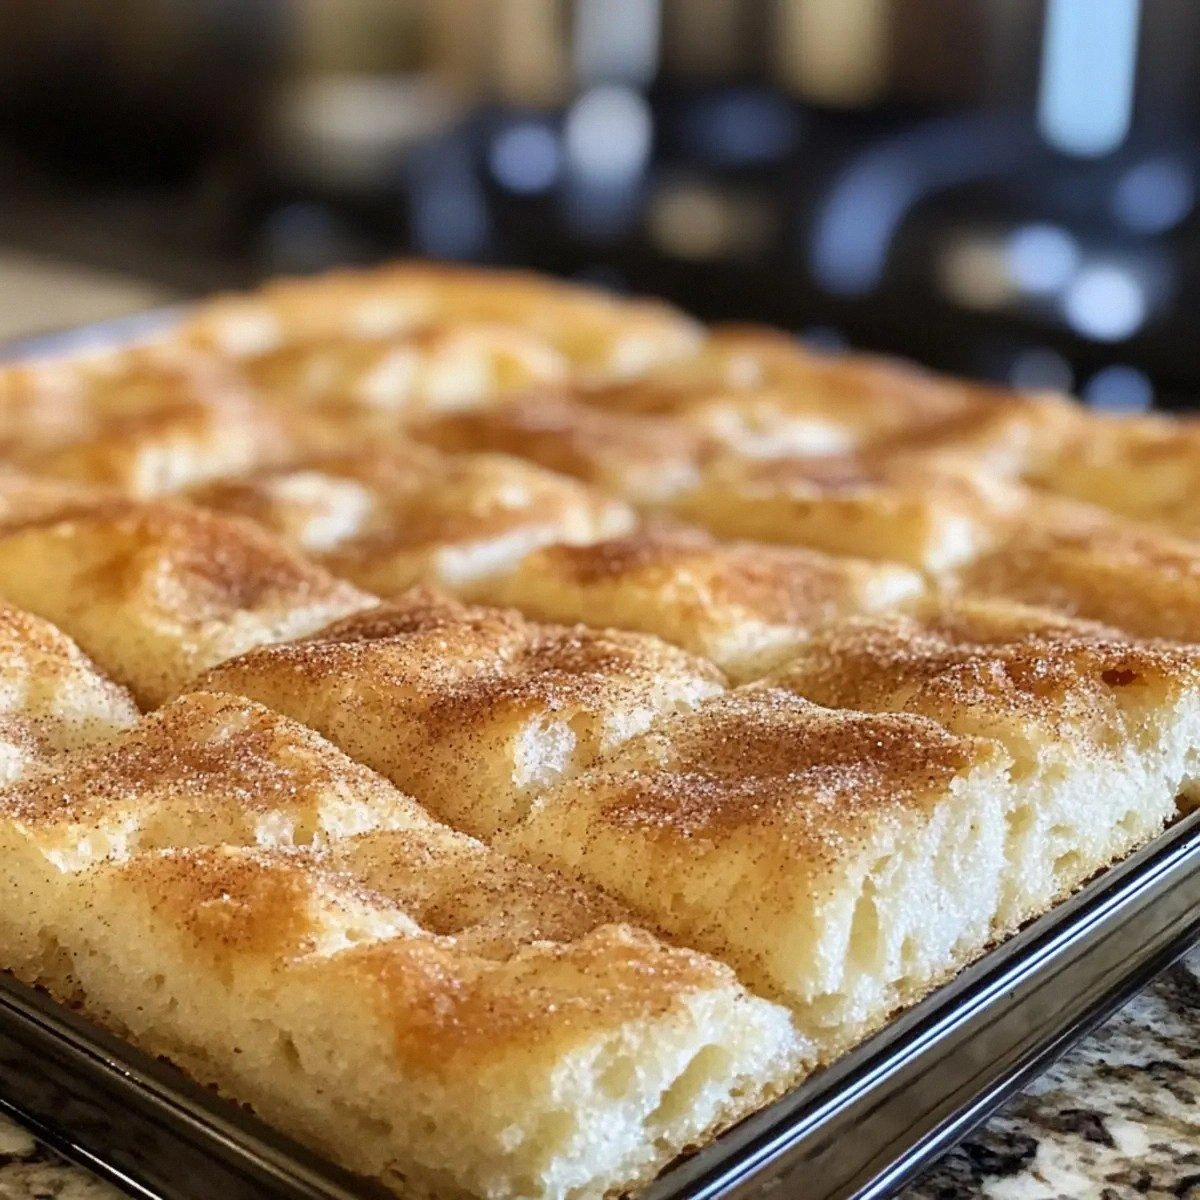
Picture yourself pulling a golden batch of these scones from the oven, the whole kitchen smelling incredible, and then cutting into one to reveal a light, airy crumb that crackles with granola crunch. The first bite is a burst of sweet, nutty flavor with a hint of citrus from the lemonade, followed by a creamy finish from the cream that coats your palate like velvet. I dare you to taste this and not go back for seconds. The texture is a paradox: the outer crust is crisp, while the inside is soft enough to melt in your mouth. I’ll be honest — I ate half the batch before anyone else got to try it.
What makes this version stand out from every other recipe out there is that it cuts through the usual fluff. Most recipes get this completely wrong by adding too many wet ingredients or overmixing, which turns the dough into a dense, chewy mess. Here, the combination of cold lemonade and self‑raising flour creates a lift that makes the scones rise like a sunrise. The granola is folded in gently, preserving its crunch so that each bite delivers a satisfying snap. The result is a scone that looks like a piece of pastry art and tastes like a breakfast in a bowl.
There’s a secret ingredient you won’t expect: the cold lemonade. It might sound like a strange choice, but the acidity reacts with the baking powder in the self‑raising flour to produce a lightness that would otherwise be impossible to achieve with just milk or water. Picture the lemonade as a gentle breeze that lifts the dough, making it airy without sacrificing the richness that the cream brings. This technique is what makes this recipe hands down the best version you'll ever make at home.
Let me walk you through every single step — by the end, you'll wonder how you ever made it any other way. I’ll share micro‑challenges, bold claims, and the kind of kitchen hacks that turn a simple bake into a culinary triumph. Stay with me here — this is worth it. If you've ever struggled with scones that fall flat or crumble, you're not alone — and I've got the fix. And now the fun part.
What Makes This Version Stand Out
- Flavor: The combination of creamy, citrusy, and nutty notes creates a complex profile that satisfies every craving.
- Texture: A crisp exterior with a melt‑in‑your‑mouth interior that feels like a dream.
- Speed: The entire process takes less than 45 minutes from prep to plate.
- Ingredient Simplicity: Only five ingredients, no pantry staples you have to hunt for.
- Versatility: Works as a breakfast, snack, or dessert, and can be dressed up with toppings.
- Make‑Ahead: Bake ahead and reheat in minutes, making it perfect for busy mornings.
- Visual Appeal: The golden crust and speckled granola give a rustic, Instagram‑ready look.
- Health Factor: Uses real fruit and oats, so you’re not eating a chemical‑laden treat.
Alright, let's break down exactly what goes into this masterpiece...
Inside the Ingredient List
The Flour Foundation
The self‑raising flour is the backbone of the dough, providing lift and structure. Its built‑in baking powder means you don’t need to add extra leavening, which simplifies the process and reduces the risk of over‑baking. If you skip it, the scones will be flat and dense, losing that airy quality that makes them so irresistible. A high‑gluten flour will give a chewier bite, but the standard all‑purpose version works perfectly for this recipe. For a gluten‑free version, swap with a 1:1 gluten‑free blend that contains xanthan gum.
The Creamy Layer
Cream adds moisture and richness, turning the dough into a tender crumb. It also helps to keep the scones from drying out during baking, which is why the final product feels luxurious on the tongue. If you’re dairy‑free, try using coconut cream or a thick oat milk; the texture will be slightly different but still delicious. The key is to keep the cream cold, as warmth can cause the dough to become too sticky. A pinch of salt is optional but recommended to balance the sweetness.
The Citrus Lift
Cold lemonade is the unexpected hero that gives the scones their lift. The acidity reacts with the baking powder, creating carbon dioxide that expands the dough. This means the scones rise without needing a second rise, saving you time. If you prefer a milder flavor, replace the lemonade with cold sparkling water and add a tablespoon of lemon juice for a subtle citrus note. The lemonade also imparts a bright, refreshing taste that cuts through the richness of the cream.
The Crunch Crew
Kellogg’s™ Fruit Mix Granola brings texture, crunch, and fruity flavor that turns each bite into an adventure. The oats and dried fruit add natural sweetness, while the nuts provide a satisfying bite. If you’re looking to experiment, try adding a handful of toasted coconut flakes or a sprinkle of cinnamon for a warm twist. Skipping the granola would strip the scones of their signature crunch and flavor profile. When folding the granola in, be gentle to preserve the crunch.
The Finishing Touch
A tablespoon of milk is all that’s needed to brush the tops for a glossy finish and golden crust. The milk creates a thin glaze that caramelizes during baking, giving the scones a beautiful shine. If you’re vegan, use a non‑dairy milk like almond or soy; the effect is nearly identical. This step might seem minor, but it’s the difference between a mediocre scone and one that looks like it was made by a professional baker. Brush the tops right before the last 5 minutes of baking to lock in that golden sheen.
Everything's prepped? Good. Let's get into the real action...

The Method — Step by Step
- Preheat your oven to 200°C (400°F) and line a baking sheet with parchment paper. The parchment prevents sticking and makes cleanup a breeze. Let the oven heat up fully before placing the dough inside; this ensures even baking. While the oven is heating, gather all ingredients so you’re ready to move quickly.
- In a large mixing bowl, whisk the self‑raising flour until it’s smooth and free of lumps. This step is crucial because any clumps will affect the texture of the final product. Use a fine‑mesh sieve if you’re unsure; a smooth flour base gives a better rise.
- Add the cold lemonade to the flour and stir until a shaggy dough forms. The liquid will absorb quickly, so keep your mixing time short. The dough should look slightly wet but not sticky. The cold lemonade also helps keep the dough from over‑working.
- Fold in the cream using a spatula, making sure the dough is moist but still manageable. The cream will add richness and tenderness. Avoid over‑mixing; you want a cohesive dough, not a tough one.
- Gently stir in the granola, taking care not to crush the oats. This is where the crunch lives, so handle with care. If you prefer a sweeter version, sprinkle a tablespoon of brown sugar at this point; it will caramelize slightly during baking.
- Divide the dough into 8 equal portions and place them on the prepared baking sheet, spacing them about 2 cm apart. The spacing allows the scones to rise without merging. Press each piece gently with the palm of your hand to flatten slightly.
- Brush the tops of each scone with the milk, then sprinkle a pinch of coarse sea salt on top for a subtle contrast. The salt enhances the flavors and balances the sweetness. This step also helps the tops brown beautifully.
- Bake for 20–22 minutes, or until the tops are golden and a toothpick inserted into the center comes out clean. Keep an eye on the color; if they brown too fast, reduce the temperature by 10°C.
- Remove the scones from the oven and let them cool on a wire rack for 5 minutes. This rest period allows the crumb to set and prevents the scones from becoming gummy. Once cooled, serve warm with a dollop of whipped cream or a drizzle of honey.
That's it — you did it. But hold on, I've got a few more tricks that'll take this to another level...
Insider Tricks for Flawless Results
The Temperature Rule Nobody Follows
Many bakers overheat their ovens, thinking a higher temperature will give a crispier crust. In reality, a moderate 200°C (400°F) is optimal for these scones. It ensures the inside cooks through without burning the outside. If your oven runs hot, preheat it for a longer time and use a thermometer to confirm the actual temperature. A well‑regulated oven yields the best texture every time.
Why Your Nose Knows Best
The aroma of a scone rising is a reliable indicator that the dough has expanded properly. If you smell a sweet, buttery scent, the scones are ready to bake. If you notice a sour or off smell, the lemonade might have gone bad. Trust your nose; it’s a seasoned judge of freshness.
The 5‑Minute Rest That Changes Everything
After baking, let the scones rest on a rack for at least 5 minutes before cutting. This allows the steam to settle, resulting in a softer crumb and preventing the scones from falling apart. It also gives the glaze time to set, giving the tops a glossy finish. Skipping this step will leave you with a slightly crumbly texture.
Keep It Cool Until It’s Ready
If you need to store the scones for later, keep them in an airtight container at room temperature. They stay fresh for up to 2 days. For longer storage, freeze them in a zip‑lock bag and thaw at room temperature before reheating. Avoid refrigerating, as it can dry out the crumb.
Serve With a Twist
A drizzle of maple syrup or a spoonful of Greek yogurt can transform the flavor profile. For a savory spin, add a pinch of smoked paprika to the dough. These small additions create a memorable experience that elevates the humble scone into a gourmet treat.
Creative Twists and Variations
This recipe is a playground. Here are some of my favorite ways to switch things up:
Nutty Banana Crunch
Add a mashed ripe banana to the dough for natural sweetness and a creamy texture. Sprinkle chopped walnuts on top before baking for extra crunch. The banana pairs wonderfully with the granola’s fruitiness, creating a balanced flavor.
Chocolate Chip Delight
Fold in a handful of dark chocolate chips with the granola. The chocolate melts slightly during baking, producing pockets of gooey delight. Serve with a dusting of cocoa powder for an extra chocolatey kick.
Spiced Apple Pie
Replace the granola with diced apples and a dash of cinnamon. The apples soften during baking, giving a sweet, spiced aroma. This version is perfect for fall mornings when you crave a warm, comforting treat.
Herbal Citrus Surprise
Add a tablespoon of fresh chopped rosemary to the dough. The herb’s piney notes contrast beautifully with the lemony lemonade. Garnish with a lemon zest ribbon for a bright, aromatic finish.
Vegan Version
Swap the cream for coconut cream and the milk for almond milk. Use a vegan granola brand that’s free from honey or dairy. The result is a fluffy, sweet scone that satisfies even the strictest vegan palate.
Gluten-Free Twist
Use a gluten‑free all‑purpose blend that includes xanthan gum. The dough will be slightly denser but still light and fluffy. Ensure the granola is gluten‑free to keep the entire recipe safe for those with celiac disease.
Storing and Bringing It Back to Life
Fridge Storage
Store leftover scones in a sealed container at room temperature for up to 2 days. If you want to keep them fresher longer, place them in the refrigerator; they will stay soft for up to 5 days. The key is to keep them airtight to prevent moisture loss.
Freezer Friendly
Wrap each scone individually in plastic wrap and place them in a freezer bag. They can be frozen for up to 3 months. When you’re ready to eat, thaw at room temperature for 30 minutes before reheating.
Best Reheating Method
Reheat frozen or refrigerated scones in a preheated oven at 180°C (350°F) for 5–7 minutes until warmed through. To maintain crispness, place them on a wire rack. Add a tiny splash of water to the bottom of the baking sheet; the steam will help the scones regain their soft interior.