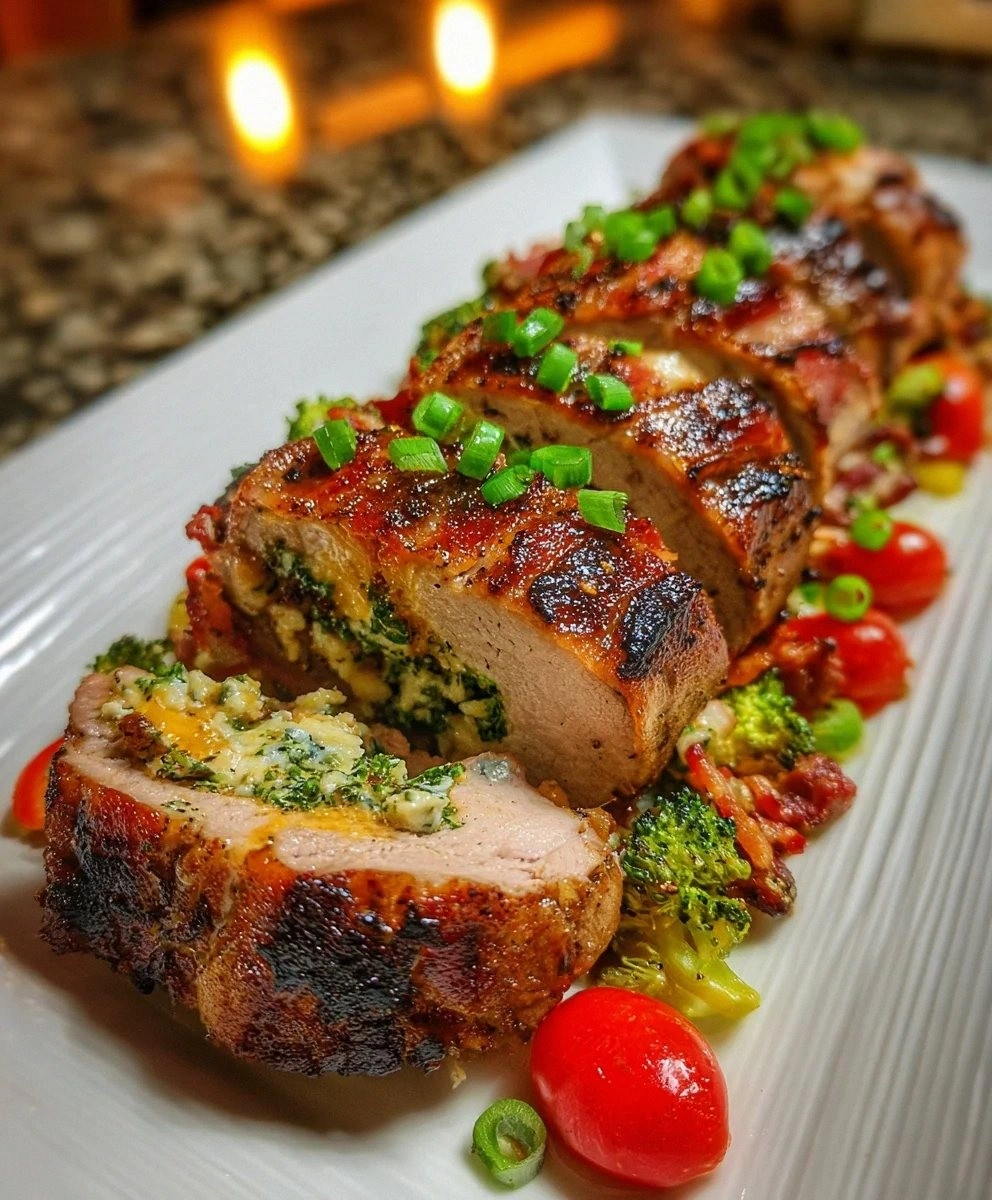
Picture this: I’m standing over a pot that’s bubbling like a volcanic eruption, the kitchen air thick with the scent of onions caramelizing, and a sudden realization hits me—my usual bean stew is missing that punch, that fireworks of flavor that makes you shout, “I’m never going back to the bland version again!” I tossed a handful of beans into the pot, added a splash of tomato sauce, and the whole thing turned into a ruby‑red, speckled masterpiece that could have been born in a Michelin kitchen. That moment of accidental brilliance sparked the birth of what I now call “Calico Beans,” a dish that looks like a confetti parade of colors and tastes like a warm hug from your favorite aunt, but with a cheeky twist that says, “I’m not your grandma’s bean casserole.”
First, let’s set the scene. The kitchen was a chaotic orchestra of clattering pans, the timer ticking like a metronome, and the faint hum of the fridge like background jazz. The onions sizzled, releasing a sweet perfume that made my mouth water before the first bite even hit the plate. The bell peppers—bright orange, deep green, and sunny yellow—popped against the dark beans like fireworks against a night sky, while the corn kernels added a buttery pop that echoed the crackle of a campfire. Every spoonful was a symphony of textures: the buttery beans, the crisp‑tender veggies, and the silky sauce that clung to each bite like a lover’s whisper.
Why does this version stand out from the sea of bean recipes out there? Most recipes treat beans like a bland canvas, slathering on generic spices and calling it a day. I, however, decided to treat each ingredient like a star in a Broadway show, giving them their own spotlight and a chance to shine. The secret? A dash of mustard that cuts through the richness, a spoonful of brown sugar that adds a caramel kiss, and a pinch of chili powder that brings the heat without overwhelming the palate. It’s the kind of flavor balance that makes you dare to taste it and not go back for seconds—because you’ll be too busy planning the next round.
And there’s a little twist that most recipes miss: I finish the dish with a drizzle of olive oil right before serving, which gives the beans a glossy, restaurant‑quality sheen that makes the whole pot look like a work of art. This isn’t just a side dish; it’s a conversation starter, a comfort food with a punch, and, frankly, the best version you’ll ever make at home. Let me walk you through every single step — by the end, you’ll wonder how you ever made it any other way.
What Makes This Version Stand Out
- Flavor Explosion: The combination of mustard, brown sugar, and chili powder creates a sweet‑heat balance that dances on the tongue, turning ordinary beans into a party you don’t want to leave.
- Texture Harmony: Each bite delivers a contrast—soft beans, crisp peppers, and juicy corn—so you never get that one‑note mushiness that ruins most bean dishes.
- Simplicity Meets Sophistication: With just ten pantry staples, you get a dish that feels gourmet without the fuss of exotic ingredients.
- Visual Appeal: The rainbow of veggies against the deep bean backdrop makes this a showstopper on any table, perfect for Instagram‑ready moments.
- Crowd‑Pleaser: Whether you’re feeding a family, a potluck, or a picky teen, the flavors are universally loved, and the spice level is adjustable.
- Make‑Ahead Magic: The flavors meld beautifully overnight, so you can prep it ahead and just reheat for a quick, satisfying meal.
- Ingredient Flexibility: Canned beans, frozen corn, or fresh produce—everything works, making it adaptable to any pantry situation.
- Budget Friendly: All ingredients are inexpensive, yet the dish feels indulgent, proving you don’t need to break the bank for a stellar dinner.
Alright, let's break down exactly what goes into this masterpiece...
Inside the Ingredient List
The Flavor Base
The onion and bell pepper are the aromatic foundation of Calico Beans. When diced and sautéed, they release sugars that caramelize, creating a sweet undertone that balances the acidity of the tomato sauce. Skipping the onion means you lose that depth, and the dish can taste flat, like a song without a bass line. If you’re out of fresh onions, a splash of onion powder (about ½ teaspoon) can rescue the flavor, though you’ll miss the texture.
The Texture Crew
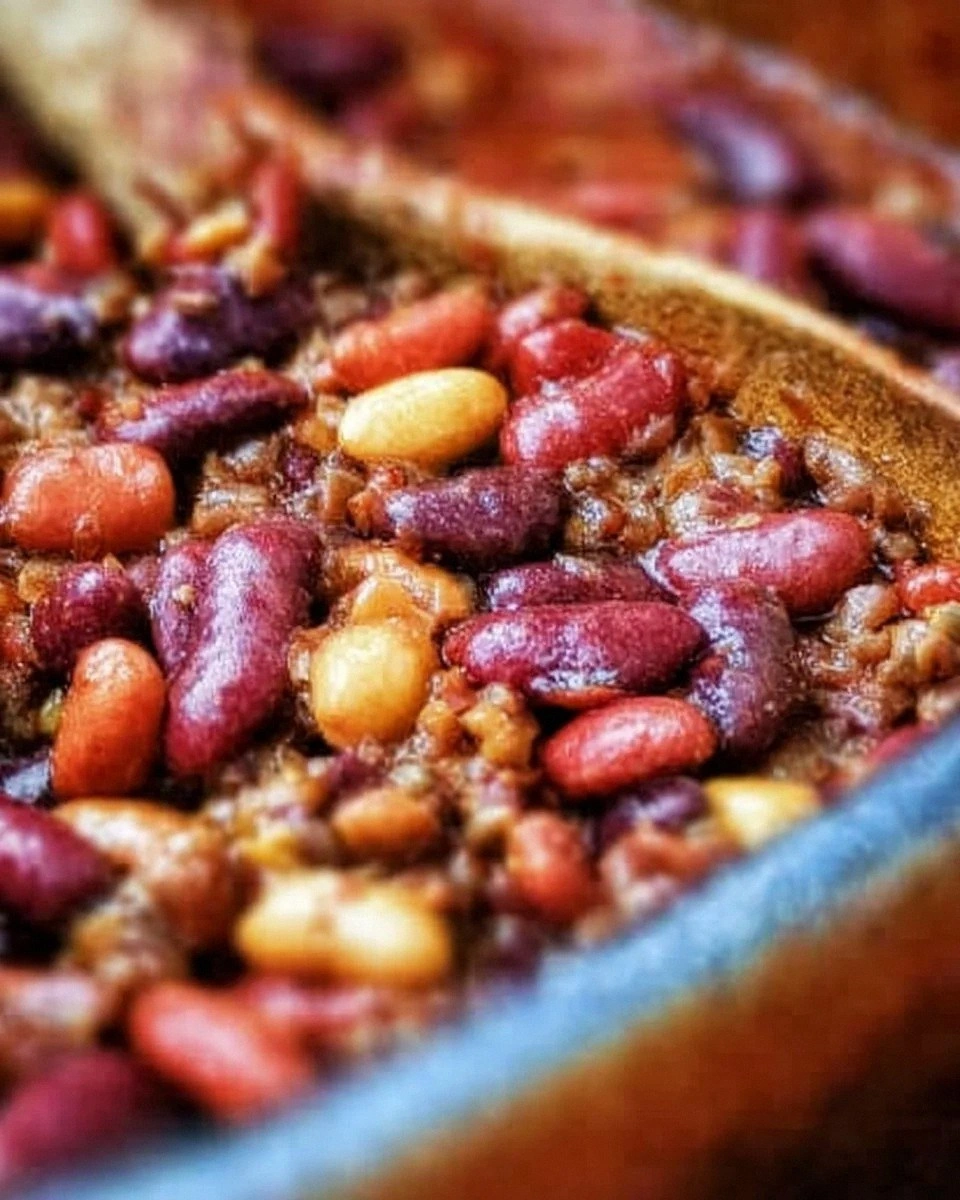
The mixed beans—kidney, navy, and pinto—bring a trio of textures: kidney beans are hearty, navy beans are buttery, and pinto beans add a subtle earthiness. This trio is what gives the “calico” name, like a patchwork quilt of colors and feels. If you only have one type, the dish still works, but you’ll miss the visual and textural variety. For a smoky twist, try adding a handful of black beans.
The Unexpected Star
Corn isn’t just a sweet filler; its natural sugars caramelize slightly when cooked, adding a pop of brightness that lifts the sauce. Frozen corn works perfectly—just thaw it quickly to avoid excess water. Canned corn is fine too, but be sure to drain it well; otherwise, the dish can become watery. A fun swap is to use fresh peas for a greener hue and a slightly earthier taste.
The Final Flourish
The tomato sauce, brown sugar, mustard, and chili powder form the glaze that coats every bean like velvet. Tomato sauce provides acidity, brown sugar adds caramel depth, mustard cuts through the sweetness with a tangy bite, and chili powder brings a gentle heat. If you’re out of mustard, a teaspoon of apple cider vinegar can mimic the acidity, though the flavor will be slightly different. For a smoky edge, add a pinch of smoked paprika alongside the chili powder.
Everything's prepped? Good. Let's get into the real action...
The Method — Step by Step
Heat the olive oil in a large, heavy‑bottomed pot over medium heat. As soon as the oil shimmers, toss in the diced onion and bell pepper. That sizzle when it hits the pan? Absolute perfection. Cook, stirring occasionally, until the onions turn translucent and the peppers soften—about 5 minutes. This is the moment where the aromatics begin their transformation, releasing sweet and savory notes that will form the backbone of the dish.
Next, add the mixed beans and corn to the pot, stirring to combine. Let the mixture cook for another 3‑4 minutes, allowing the beans to absorb the aromatics. You’ll notice the corn kernels start to turn a deeper gold, signaling they’re picking up flavor. This step is crucial because it ensures every bean gets a coating of the sautéed veggies, setting the stage for the sauce to cling perfectly.
Now, pour in the tomato sauce, followed by the brown sugar, mustard, and chili powder. Stir vigorously until the sauce becomes a glossy, ruby‑red river that envelops the beans. Taste at this point and adjust salt and pepper—remember, the beans are already salted from the can, so you may need less than you think. The sauce should have a balanced sweet‑heat profile; if it leans too acidic, add a pinch more brown sugar.
Reduce the heat to low, cover the pot, and let the beans simmer for 20 minutes. During this time, the flavors meld, and the beans become tender without falling apart. You’ll hear a gentle bubbling, and the aroma will become richer, filling the kitchen like a warm blanket. Stir occasionally to prevent sticking, and if the mixture looks too thick, splash in a quarter cup of water or broth.
After simmering, uncover the pot and increase the heat to medium‑high for 5 minutes, allowing the sauce to reduce slightly and cling to the beans. You’ll see the edges of the beans pulling away from the pan, indicating a perfect glaze. This step is pure magic—don’t skip it, or you’ll end up with a watery dish that lacks that coveted sheen.
Finally, remove the pot from the heat and drizzle the remaining tablespoon of olive oil over the beans. Give it one last gentle stir to distribute the oil, which adds a silky finish and a subtle fruitiness. Let the dish rest for 2‑3 minutes; this short pause lets the flavors settle and the beans absorb the final burst of olive oil.
Serve hot, straight from the pot, or spoon onto a bed of rice, quinoa, or even a toasted slice of crusty bread. I dare you to taste this and not go back for seconds—trust me, the lingering sweet‑heat will have you reaching for the serving spoon again. Picture yourself pulling this out of the pot, the whole kitchen smelling incredible, and your guests leaning in for a spoonful. This next part? Pure magic.
That's it — you did it. But hold on, I've got a few more tricks that'll take this to another level...
Insider Tricks for Flawless Results
The Temperature Rule Nobody Follows
Never start a bean dish over high heat. Begin at medium to coax out the aromatics without scorching, then only finish on high for that final glaze. I once cranked the stove to high from the start; the onions burnt, and the whole dish tasted bitter. The lesson? Patience in the early stages pays off with a clean, balanced flavor profile.
Why Your Nose Knows Best
When the sauce starts to bubble gently, trust your nose. A fragrant, slightly sweet aroma signals the perfect moment to add the brown sugar and mustard. If you smell a sharp, acidic bite, it means you need a pinch more sugar. Your olfactory senses are a built‑in tasting spoon—listen to them.
The 5‑Minute Rest That Changes Everything
After the final simmer, let the beans sit off the heat for five minutes. This rest allows the glaze to thicken naturally and the flavors to harmonize. Skipping this step leaves the sauce thin and the beans less cohesive. I’ve seen people rush to serve, only to end up with a watery mess—don’t be that person.
Salt Timing is Everything
Because canned beans already contain salt, add only a modest amount at the beginning. Taste after the sauce has reduced; you may find you need just a pinch. Over‑salting is a common pitfall that can mask the subtle sweetness of the brown sugar and the tang of the mustard.
Use the Right Pot
A heavy‑bottomed Dutch oven distributes heat evenly, preventing hot spots that can scorch the sauce. If you use a thin skillet, you’ll need to stir more frequently. Investing in a good pot pays dividends across countless recipes, not just this one.
Creative Twists and Variations
This recipe is a playground. Here are some of my favorite ways to switch things up:
Smoky Chipotle Calico
Swap the regular chili powder for chipotle in adobo sauce (1 tsp chipotle plus 1 tbsp adobo). The smoky heat adds a depth that pairs beautifully with the sweet corn. Great for a fall gathering when you want a warming, smoky note.
Creamy Coconut Calico
Stir in ½ cup of full‑fat coconut milk during the last five minutes of simmering. The coconut adds richness and a subtle tropical flavor, turning the dish into a side that pairs well with grilled shrimp or fish.
Herby Mediterranean
Add a handful of chopped fresh oregano and a squeeze of lemon juice just before serving. The herbaceous brightness cuts through the richness, making it a perfect accompaniment to lamb or roasted vegetables.
Tex‑Mex Fiesta
Top the finished beans with shredded cheddar, sliced jalapeños, and a dollop of sour cream. Serve with warm tortillas for a taco‑night twist that will have everyone reaching for seconds.
Vegan Protein Boost
Mix in a cup of cooked quinoa or lentils after the beans have simmered. This not only adds protein but also gives the dish a hearty texture that’s perfect for vegans or anyone looking for extra fuel.
Spicy Sweet Chili
Replace the brown sugar with a tablespoon of sweet chili sauce and add a dash of sriracha for heat. The result is a glossy, sticky glaze that’s both sweet and fiery—ideal for a game‑day snack.
Storing and Bringing It Back to Life
Fridge Storage
Transfer the cooled beans to an airtight container and store in the refrigerator for up to four days. The flavors continue to meld, making leftovers even more delicious. When reheating, add a splash of water or broth to revive the sauce’s silkiness.
Freezer Friendly
Portion the beans into freezer‑safe bags or containers, leaving a little headroom for expansion. They freeze beautifully for up to three months. To reheat, thaw overnight in the fridge, then warm gently on the stove, stirring in a tablespoon of olive oil for extra gloss.
Best Reheating Method
Reheat on the stovetop over low‑medium heat, stirring frequently. If the sauce looks thick, drizzle in a teaspoon of water per cup of beans; the steam will bring it back to its original velvety texture. Avoid microwaving for large batches—it can cause uneven heating and a rubbery bean texture.