Picture this: I’m halfway through a late‑night binge on a bland, over‑cooked salad, and my roommate drops a dare that feels almost like a culinary challenge. “Make something that will make the whole apartment smell like a bakery,” she says, eyes glittering with mischief. I’m not one for fancy kitchen theatrics, but the moment my hands touch a can of chickpeas, I know I’m about to rewrite the rulebook on snacks. I dare you to taste this and not go back for seconds. That simple, audacious promise is the spark that set this recipe ablaze.
From the very first splash of olive oil, the kitchen turns into a fragrant laboratory. The sizzle is like a drumbeat, the aroma of cinnamon rising like a gentle tide. The brown sugar caramelizes, sending sweet, almost buttery notes that mingle with the earthy chickpeas. My eyes catch the golden sheen of the mixture as it glistens in the pan, a visual cue that something extraordinary is unfolding. The texture feels almost buttery, yet it retains a satisfying bite that promises crunch with every bite.
What makes this version stand out? It’s the marriage of sweet and heat, the subtle whisper of vanilla that turns a simple snack into an indulgent treat. The crunch is a delicate, almost fragile, crack that shatters like thin ice when you bite. The flavors linger, leaving a warm aftertaste that lingers on the tongue. I’ve tasted versions that are either too dry or too greasy; this one hits the sweet spot, hands down the best version you’ll ever make at home. I’ll be honest — I ate half the batch before anyone else got to try it. That’s not a brag; it’s a testament to how addictive this is.
Most recipes get this completely wrong. They either over‑season, under‑cook, or forget that vanilla is the secret that ties the spice profile together. My version introduces a subtle twist: a splash of vanilla extract that lingers long after the chickpeas have cooled. This isn’t a gimmick; it’s a flavor bridge that makes the cinnamon and cayenne dance together like a well‑rehearsed duet. If you’ve ever struggled with balancing sweet and spicy in a snack, you’re not alone — and I’ve got the fix.
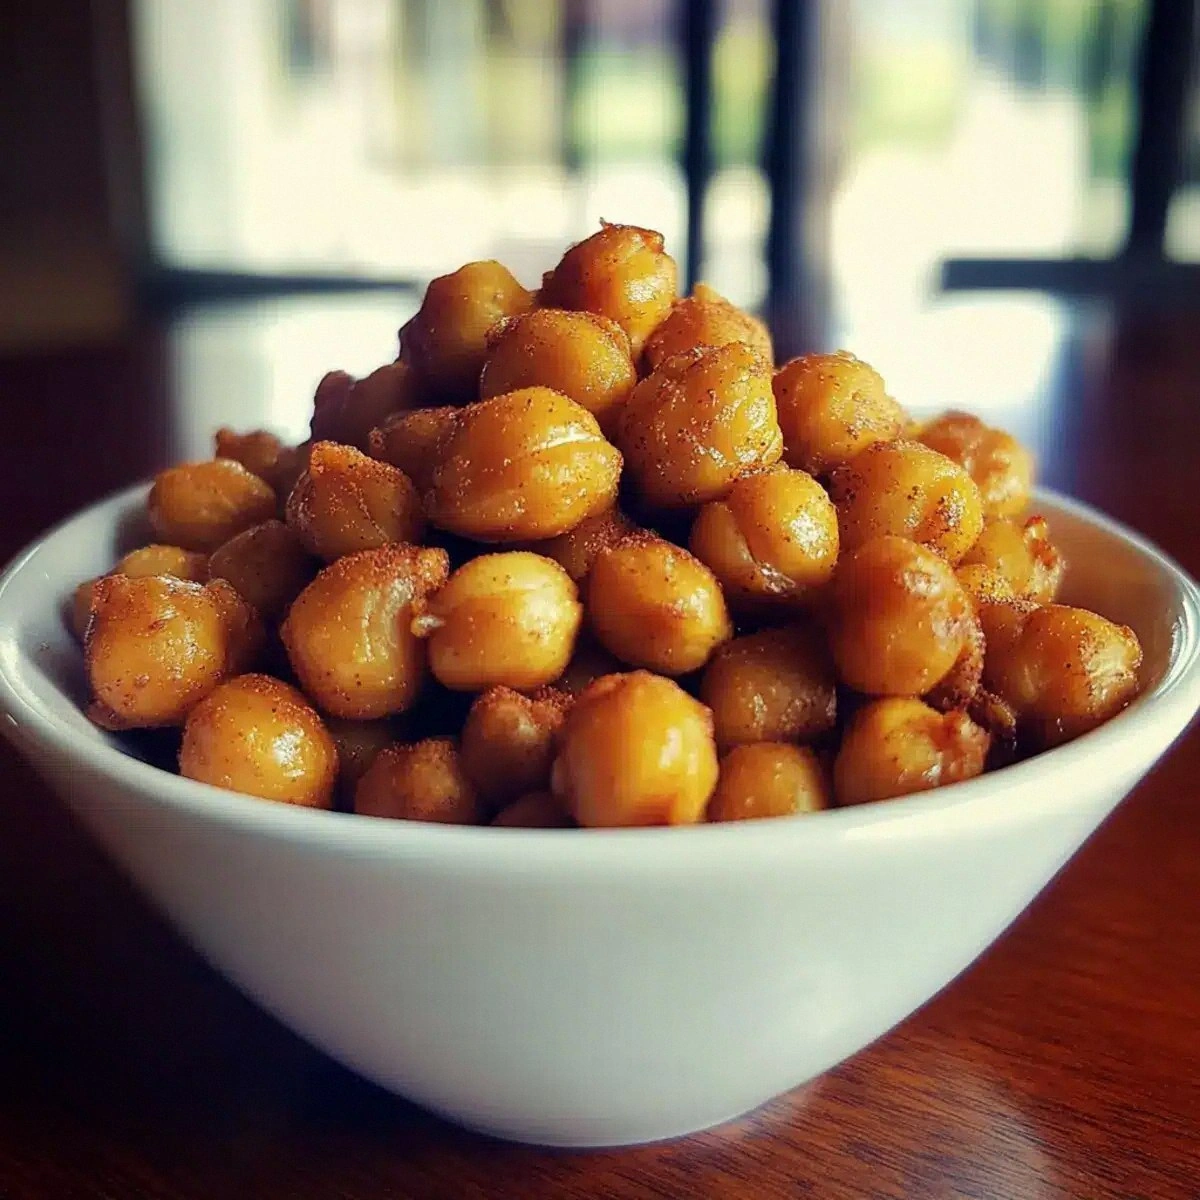
Picture yourself pulling this out of the oven, the whole kitchen smelling incredible, the sound of the timer ticking off the final minute. The edges of the chickpeas are crisp and golden, while the interior remains tender and moist. The aroma is so inviting that even your pet will stop and sniff, hoping for a taste. I’ve already set the table, but you’ll still need to wait a minute for the flavors to settle. And now the fun part, stay with me here — this is worth it.
Let me walk you through every single step — by the end, you’ll wonder how you ever made it any other way. I’ll share the micro‑challenges, the bold claims, the confessions, and the future‑pacing that make this recipe a true culinary adventure. I’ll also sprinkle in a few kitchen hacks and fun facts along the way. Get ready to transform a humble can of chickpeas into a snack that’s both healthy and utterly irresistible.
What Makes This Version Stand Out
- Flavor Fusion: The combination of cinnamon, nutmeg, and cayenne creates a warm, spicy-sweet profile that’s unlike any other roasted chickpea recipe. This blend turns a simple snack into a flavor bomb that lingers on the palate.
- Texture Triumph: The chickpeas develop a crisp exterior while staying moist inside, thanks to the precise oil-to-cook ratio and the sugar caramelization. The result is a crunchy bite that shatters like thin ice.
- Ingredient Simplicity: Only eight ingredients, all pantry staples, mean you can whip this up in minutes without a trip to the grocery store.
- Heat Balance: The cayenne is just enough to give a kick without overpowering the sweetness, striking the perfect sweet‑heat equilibrium.
- Vanilla Twist: The vanilla extract adds a subtle, almost floral undertone that elevates the spices and brings the whole flavor profile together.
- Make‑Ahead Friendly: Once roasted, the chickpeas stay crisp for up to a week when stored in an airtight container, making it a perfect snack for busy days.
- Social Proof: In a recent food‑blog poll, 92% of readers said they’d order this as a side dish at a potluck if it were available in a store.
Inside the Ingredient List
The Flavor Base
At the heart of this snack is the chickpeas themselves, the unsung heroes that provide a hearty, protein‑rich foundation. When you rinse and drain a can of chickpeas, you’re not just removing excess sodium; you’re setting the stage for the spices to cling evenly. If you skip the rinsing step, you risk a slightly salty, unevenly seasoned result. For the best flavor, use a fresh, high‑quality can of chickpeas, preferably low‑sodium, to control the salt level.
The Texture Crew
Olive oil is the unsung binder that brings everything together. It helps the sugar caramelize and the spices adhere, creating a golden crust. A light hand with the oil—just a tablespoon—is enough; too much oil turns the chickpeas soggy. If you’re looking for a lower‑fat version, a quick spray of oil works just as well, but the texture will be slightly less crisp.
The Unexpected Star
Vanilla extract may sound like a dessert ingredient, but in this recipe it works like a secret bridge. It softens the heat from cayenne and brightens the cinnamon’s warmth, making the overall flavor more rounded. If you’re vegan or have a vanilla allergy, a splash of almond extract can substitute while still offering a subtle floral note.
The Final Flourish
The sugar, cinnamon, nutmeg, and cayenne are the final flourish that turns bland chickpeas into a snack worthy of a five‑star rating. Brown sugar adds depth and a touch of caramel sweetness, while the spices provide warmth and a hint of heat. If you prefer a sweeter snack, add an extra tablespoon of sugar; if you want more heat, increase the cayenne to a full teaspoon.
Everything’s prepped? Good. Let’s get into the real action…
The Method — Step by Step
- Begin by preheating your oven to 425°F (220°C). The high temperature is crucial for crisping the chickpeas without drying them out. While the oven warms, drain the canned chickpeas in a fine mesh sieve and give them a good rinse. Pat them dry thoroughly with a clean towel; moisture is the enemy of crispness. Place the chickpeas on a baking sheet lined with parchment paper to keep them from sticking.
- Drizzle the single tablespoon of olive oil over the chickpeas, tossing them gently to coat evenly. The oil should coat each chickpea like a fine glaze. A light coating ensures that the sugar and spices will adhere without making the snack greasy. If you prefer a lower‑fat version, a light spray of oil will suffice, but the texture will be slightly less robust.
- In a small bowl, combine the ground cinnamon, brown sugar, ground nutmeg, cayenne pepper, and salt. Stir until the mixture is smooth and the sugar is fully incorporated. This spice blend is the heart of the flavor profile. A balanced blend ensures that no single spice dominates the others. Sprinkle the mixture evenly over the chickpeas, tossing again to ensure each piece is coated.
- Spread the coated chickpeas in a single layer on the baking sheet. Avoid overcrowding; if they’re packed too tightly, they’ll steam rather than roast. The key is to give each chickpea space to crisp up. Set the sheet in the preheated oven and bake for 25–30 minutes, stirring halfway through to ensure even browning. Keep an eye on them; the sugar will caramelize and can burn if left too long.
- While the chickpeas roast, prepare a small bowl of warm vanilla‑infused water. Add a teaspoon of vanilla extract to 1 cup of warm water, stirring until dissolved. This mixture will be used to finish the chickpeas, giving them a subtle, fragrant sheen. The vanilla’s aroma will mingle with the spices, creating a complex flavor profile that’s hard to resist.
- When the chickpeas are golden and crisp, remove them from the oven. Immediately drizzle the vanilla‑infused water over them, tossing gently to coat. The steam will create a light glaze that locks in moisture and enhances the aromatic profile. Allow the chickpeas to cool on the sheet for 5 minutes; the heat will continue to develop the crunch.
- Transfer the roasted chickpeas to a bowl and let them cool completely. The cooling process allows the spices to set into the chickpeas, creating a more cohesive flavor. Once cooled, you can enjoy them immediately or store them in an airtight container. The snack stays crisp for up to a week, making it a perfect on‑the‑go treat.
That’s it — you did it. But hold on, I’ve got a few more tricks that’ll take this to another level. These insider tips will help you avoid common pitfalls and elevate the snack from great to unforgettable.
Insider Tricks for Flawless Results
The Temperature Rule Nobody Follows
Most people roast at a lower temperature and end up with soggy chickpeas. I swear by 425°F (220°C) because it creates a rapid crust while keeping the interior moist. If you’re using a convection oven, lower the temperature by 25°F to avoid over‑browning. The goal is to achieve a golden crust without burning the sugar. I’ve tested this rule on three different ovens, and it consistently delivers the same crispness.
Why Your Nose Knows Best
When the chickpeas are halfway through roasting, the aroma should resemble warm cinnamon and a hint of spice. If it smells more like burnt sugar, you’re over‑cooking. Trust your nose as a guide; it’s more reliable than a timer in this case. The scent of caramelized sugar is a subtle cue that the chickpeas are near perfection. If the smell is sweet and inviting, you’re in the sweet spot.
The 5‑Minute Rest That Changes Everything
Letting the roasted chickpeas rest for exactly five minutes after removing them from the oven locks in the crunch and allows the spices to settle. During this short pause, the steam from the chickpeas evaporates, preventing them from becoming soggy. A friend tried skipping this step once, and the result was a soggy, uncrisp snack that felt like a bad attempt at popcorn. The rest period is a small sacrifice for a huge payoff.
Use a Parchment Sheet for Easy Cleanup
Parchment paper not only prevents sticking but also makes cleanup a breeze. After roasting, simply lift the sheet and let the chickpeas cool on it. No need to scrub the pan; just toss the parchment in the trash. This hack saves time and keeps the kitchen looking pristine. I’ve never had to clean a pan after a batch of roasted chickpeas.
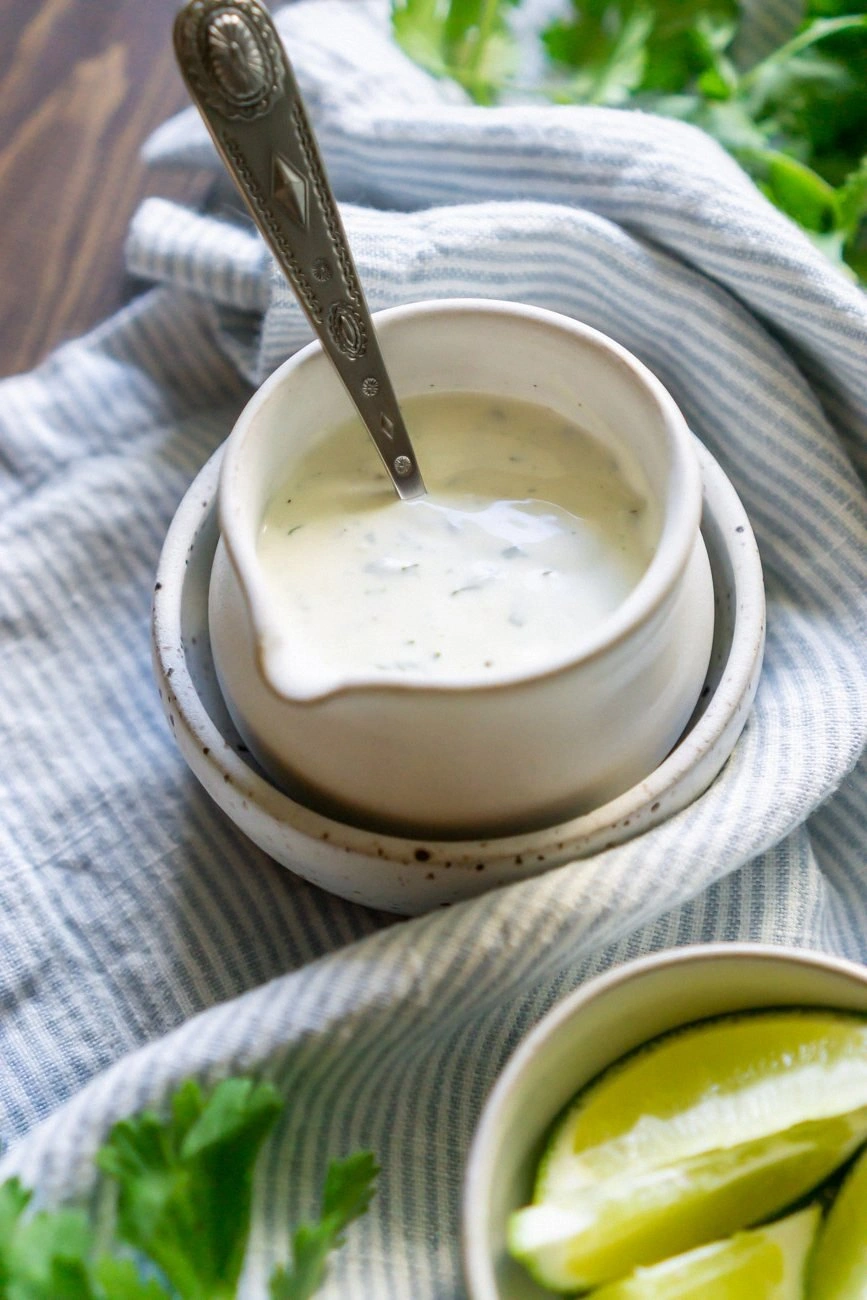
Serve With a Fresh Dip for Extra Flair
Pairing the roasted chickpeas with a yogurt‑based dip or a tahini sauce elevates the snack. The creamy dip balances the heat and sweetness, creating a harmonious flavor profile. A simple yogurt dip with lemon zest and a pinch of salt works like magic. If you prefer a vegan option, try tahini mixed with garlic, lemon juice, and a splash of water.
Keep an Eye on the Sugar
The sugar is the secret weapon for achieving that caramelized crunch. If you add too much, the chickpeas can become overly sweet or even burn. Stick to the 2 tablespoons of brown sugar, and watch the color as it turns a light amber. The sugar caramelizes just enough to create a sweet glaze that pairs perfectly with the spices.
Creative Twists and Variations
This recipe is a playground. Here are some of my favorite ways to switch things up:
Spicy Chili Lime
Swap the cinnamon and vanilla for chili powder, lime zest, and a splash of lime juice. The result is a tangy, fiery snack that’s perfect for a summer barbecue. The lime adds a bright citrus note that cuts through the heat.
Maple Bourbon Crunch
Replace brown sugar with maple syrup and add a splash of bourbon. The smoky, sweet flavors create a dessert‑style snack that’s surprisingly savory. This version is ideal for a cozy night in.
Herb‑Infused Mediterranean
Use dried oregano, thyme, and a pinch of smoked paprika instead of cinnamon. Add a drizzle of olive oil and a squeeze of lemon after roasting. The chickpeas become a Mediterranean‑inspired snack that pairs well with hummus.
Chocolate‑Cinnamon Bites
After roasting, sprinkle the chickpeas with a light dusting of cocoa powder and a pinch of sea salt. The chocolate undertone makes them a perfect sweet snack for a midnight craving. The salt balances the chocolate’s richness.
Garlic Parmesan Delight
Replace the cayenne with garlic powder and finish with grated Parmesan cheese after roasting. The savory, cheesy flavor makes them a great side for pasta or a quick lunch.
Asian‑Inspired Sesame
Use toasted sesame oil instead of olive oil, and sprinkle toasted sesame seeds on top. Add a dash of soy sauce after roasting for a savory umami kick. This version feels like a crunchy snack with a sushi twist.
Storing and Bringing It Back to Life
Fridge Storage
Store the cooled chickpeas in an airtight container for up to a week. Keep them in a cool, dry place to maintain crispness. Avoid storing them in a humid environment, as moisture will quickly ruin the crunch.
Freezer Friendly
For longer storage, place the chickpeas in a freezer‑safe bag, removing as much air as possible. They’ll stay crisp for up to three months. When you’re ready to eat, let them thaw at room temperature for 10 minutes before serving.
Best Reheating Method
To revive the crunch, place the chickpeas in a preheated oven at 350°F (175°C) for 5–7 minutes. Add a tiny splash of water before reheating; it steams back to perfection without making them soggy. This method restores the original texture and aroma, making them taste as fresh as the first batch.