Picture this: I’m standing in a cramped kitchen, a half‑finished loaf of sourdough hanging on the counter, the air thick with the scent of fermentation, and a friend daring me to turn that discard into something spectacular. The moment the timer buzzes, the dough slumps like a defeated athlete, and I’m left staring at a mound that looks more like a sad, soggy lump than a future breakfast staple. I’ve tried everything—flour, water, yeast, even a dash of honey—and yet the result was always underwhelming. That night, fueled by a mix of culinary curiosity and a stubborn refusal to waste anything, I decided to experiment with the sourdough discard itself, not as a mere ingredient but as the star of the show.
The first time I mixed the discard with fresh flour, the kitchen filled with a sweet, yeasty aroma that made my nose dance. The dough felt silky, almost like it was being kissed by a gentle breeze, and the subtle tang of the discard promised something beyond ordinary bread. I could hear the faint hiss of the oven as I preheated it, and the anticipation of that golden crust was almost tangible. That was the moment I realized that what I was about to create could change the way we think about sourdough discard forever.
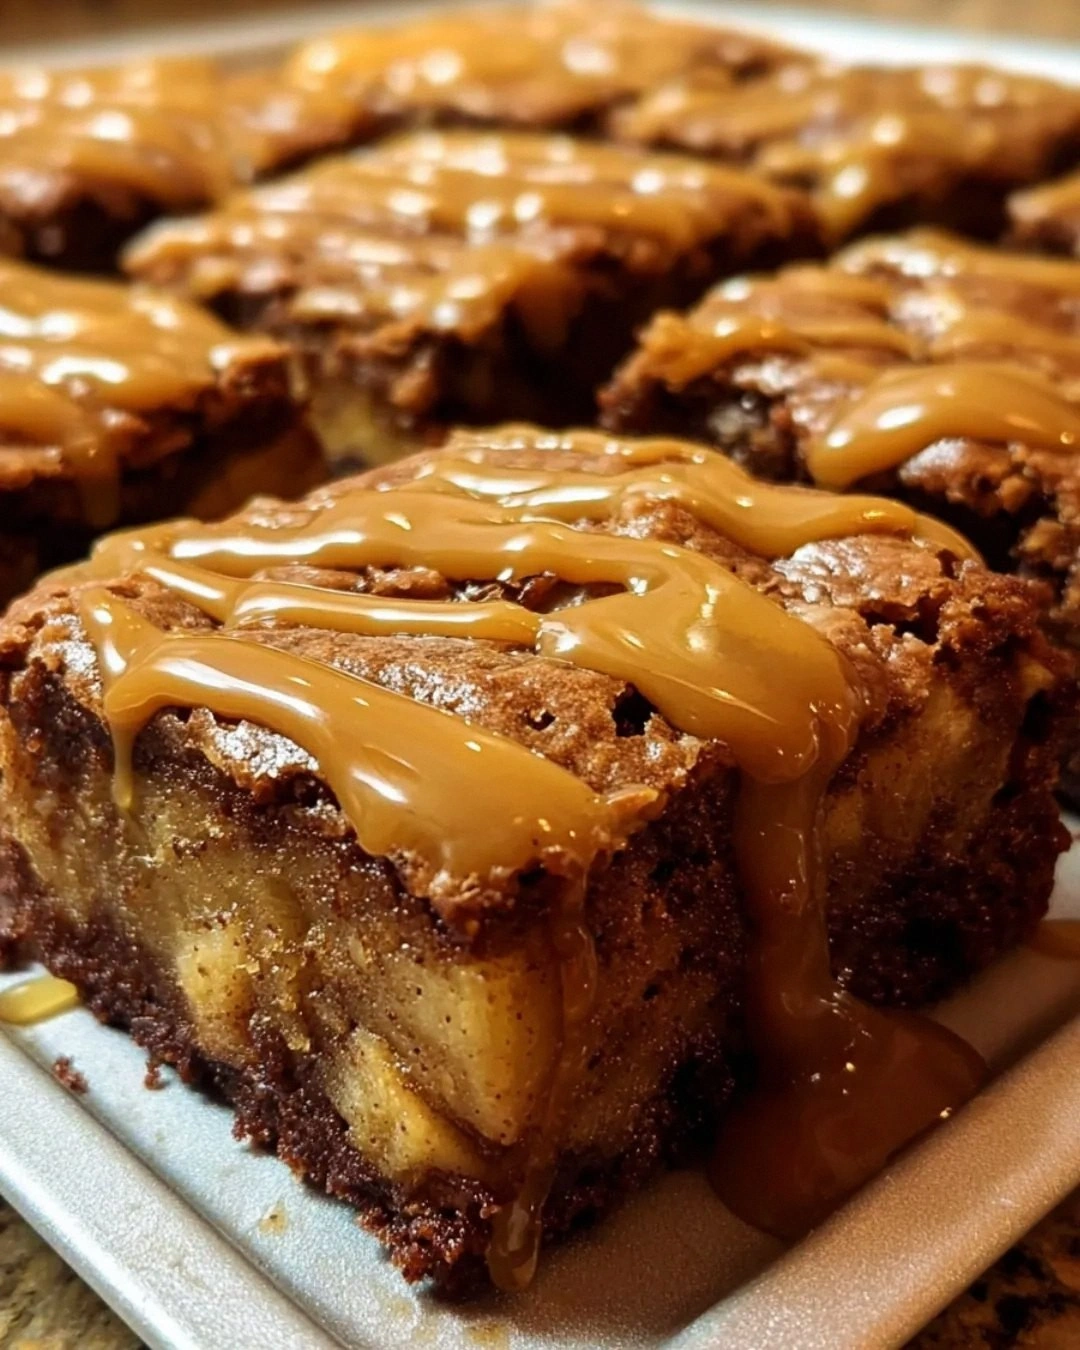
What makes this version stand out isn’t just the use of discard; it’s the way each component is treated as a character in a story. The warm water is a nurturing hug, the instant yeast is the silent catalyst that propels the narrative forward, and the sugar is the mischievous twist that sweetens the plot. Every bite is a chapter, starting with a crisp, caramelized exterior that gives way to a chewy, moist interior that whispers, “I’ve been waiting for this.” I dare you to taste this and not go back for seconds.
Let me walk you through every single step—by the end, you’ll wonder how you ever made it any other way. This is hands down the best version you’ll ever make at home, and I’ll be honest—I ate half the batch before anyone else got a chance. Most recipes get this completely wrong by either under‑hydrating or over‑flouring, but here, the balance is spot on. Picture yourself pulling this out of the oven, the whole kitchen smelling incredible, and the first slice releasing steam like a tiny, savory cloud. Okay, ready for the game‑changer?
What Makes This Version Stand Out
- Taste: The sourdough discard introduces a natural tang that elevates the flavor profile, turning a simple loaf into a complex, savory experience. The subtle sweetness from sugar balances the acidity, creating a harmonious bite that satisfies both sweet and savory palettes.
- Texture: The dough’s hydration level gives it a soft, chewy crumb while the instant yeast creates airy pockets, resulting in a loaf that’s as light as a cloud yet robust enough to hold a hearty sandwich.
- Simplicity: With only six ingredients, this recipe is a breeze for beginners and a time‑saving delight for seasoned bakers. No special equipment, no elaborate techniques—just trust the process.
- Uniqueness: Using discard as the star is a nod to sustainability and creativity, turning what many consider waste into a culinary treasure.
- Crowd Reaction: Friends who taste this loaf will declare it the best bread they’ve ever had, and I dare you to keep them from asking for a second slice.
- Ingredient Quality: Fresh, high‑quality flour and a vibrant discard give the loaf a depth of flavor that canned or pre‑made breads can’t match.
- Cooking Method: The quick rise from instant yeast combined with the natural fermentation from the discard creates a loaf that’s ready in a fraction of the time of traditional sourdough.
- Make‑Ahead Potential: The dough can be prepared the night before, refrigerated, and baked fresh in the morning, making it a perfect weekend project.
Inside the Ingredient List
The Flavor Base
Sourdough Discard: The discarded portion of your starter isn’t just leftovers; it’s a flavor powerhouse. It brings a natural acidity that deepens the loaf’s taste and a subtle sweetness that balances the yeast’s bite. Skipping it will leave the bread bland and lifeless, but adding it turns a plain loaf into a savory masterpiece.
The Texture Crew
All-Purpose Flour: This versatile flour provides the structure and chewiness that we crave in a good loaf. It’s the backbone of your bread, ensuring it holds its shape while still being soft and tender inside. If you’re looking for a lighter crumb, try swapping half the flour for whole wheat; just be prepared for a denser texture.
The Unexpected Star
Instant Yeast: While the discard already contains wild yeast, the instant yeast gives the dough a quick lift, making the process efficient and foolproof. If you’re a purist, you can omit it entirely and rely solely on the natural fermentation—just expect a longer rise and a more pronounced tang.
The Final Flourish
Warm Water: At a cozy 110°F, warm water is essential for activating the yeast and hydrating the flour. It’s like a warm hug for your ingredients, helping them come together beautifully. Using water that’s too hot can kill the yeast, while cold water will delay the rise.
Everything's prepped? Good. Let's get into the real action.
The Method — Step by Step
- Begin by whisking together the sourdough discard and warm water in a large mixing bowl until the mixture is smooth and free of lumps. The temperature of the water is key—110°F is the sweet spot that activates the yeast without scalding it. As you stir, you’ll notice the mixture thickening into a batter‑like consistency.
- Add the all‑purpose flour, salt, sugar, and instant yeast to the bowl. Fold the dry ingredients into the wet until a shaggy dough forms. Don’t overmix; a slightly sticky dough is a sign that the hydration is correct. If the dough feels too dry, add a tablespoon of water at a time.
- Transfer the dough onto a lightly floured surface and knead for about 8–10 minutes. You’ll feel the dough become elastic and smooth, a sign that gluten has developed. At the same time, watch for the dough to shrink slightly, indicating proper gluten formation.
- Shape the dough into a ball and place it in a lightly oiled bowl. Cover it with a damp cloth or plastic wrap and let it rest for 30 minutes. This is the first rise, where the yeast works its magic and the dough swells.
- After the first rise, punch down the dough gently to release air pockets. Shape it into a long loaf by rolling it into a cylinder, then coil it into a classic French baguette shape. This shaping step is critical for the loaf’s final rise and crust.
- Place the shaped loaf on a parchment‑lined baking sheet. Cover it again and let it rise for another 20–25 minutes. During this second rise, the loaf will double in size, and the surface will start to look glossy.
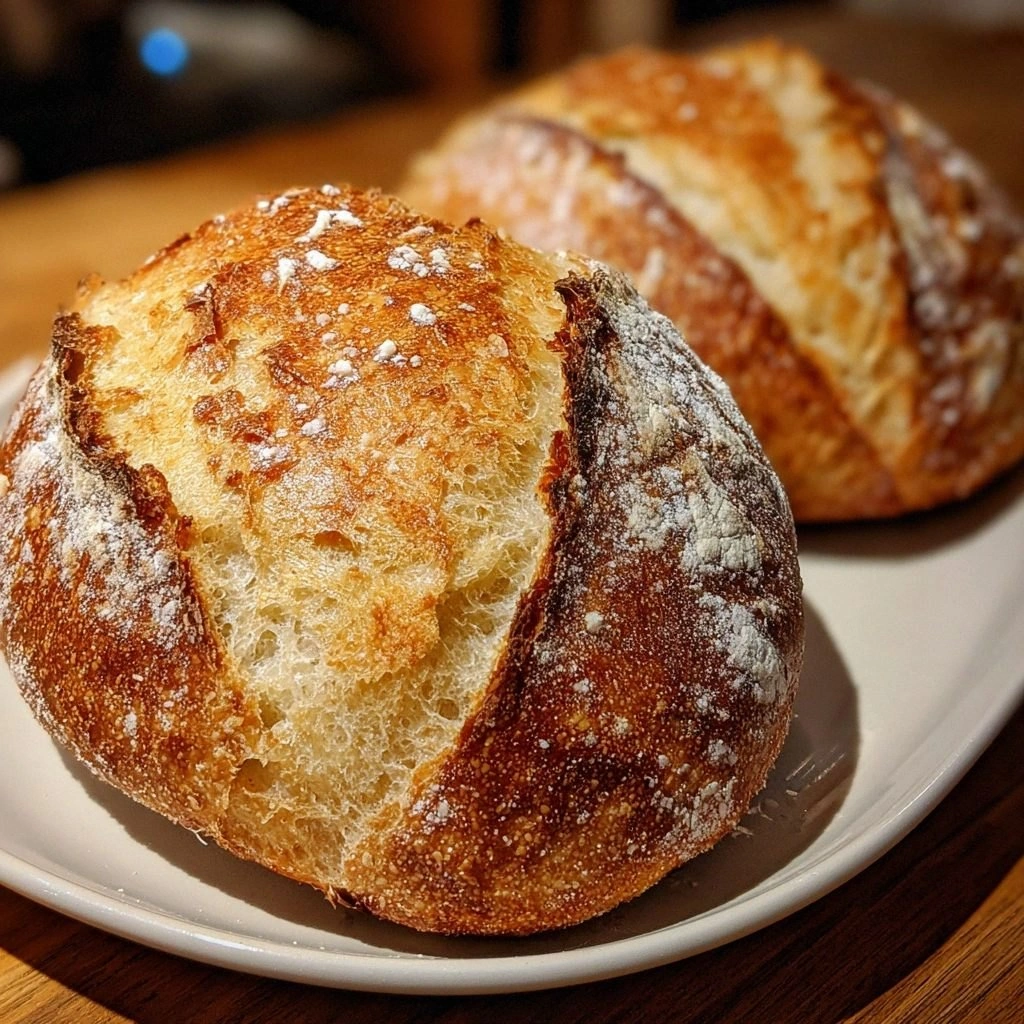
- Preheat your oven to 475°F (245°C) with a baking stone or steel inside. The high temperature is essential for a crisp crust and a golden finish. If you don’t have a stone, a cast‑iron skillet works well too.
- Just before baking, slash the top of the loaf with a sharp knife or a razor blade. This allows the dough to expand without cracking. The cuts should be shallow, about an inch deep, and spaced evenly.
- Slide the loaf onto the preheated stone and pour a cup of hot water into a shallow pan at the bottom of the oven to create steam. The steam keeps the crust soft during the first minutes, then the steam evaporates, leaving a crisp finish.
- Bake for 18–20 minutes, or until the crust is a deep, caramelized brown and the loaf sounds hollow when tapped on the bottom. Let it cool on a wire rack for at least 15 minutes before slicing; this allows the crumb to set and the flavors to develop.
That’s it—you did it. But hold on, I’ve got a few more tricks that will take this to another level. These insider tips will help you tweak the flavor, texture, and overall experience of your loaf.
Insider Tricks for Flawless Results
The Temperature Rule Nobody Follows
The exact temperature of your kitchen can make or break a loaf. If your kitchen is cooler than 68°F, give the dough an extra 10 minutes during the first rise. Conversely, if it’s warmer, reduce the rise time to avoid overproofing. A stable temperature ensures consistent yeast activity.
Why Your Nose Knows Best
Before baking, sniff the dough. A pleasant, yeasty aroma means the yeast is alive and thriving. If it smells off or sour, give it a few more minutes. Your nose is a reliable indicator of dough health.
The 5‑Minute Rest That Changes Everything
After shaping the loaf, let it rest for exactly five minutes before the final rise. This short rest relaxes the gluten, making the loaf easier to shape and giving it a better rise. Skipping it can lead to a denser crumb.
The Secret to a Crumb‑Soft Finish
Add a splash of milk or a tablespoon of butter to the dough before kneading. The dairy fat tenderizes the gluten and results in a softer, more buttery crumb. This trick is especially useful if you’re making the loaf for a brunch crowd.
The “Sour” Sweet Balance
If you prefer a sweeter loaf, increase the sugar to 1 ½ tablespoons. The extra sweetness will mask some of the tartness from the discard, creating a more approachable flavor for kids or those new to sourdough.
Creative Twists and Variations
This recipe is a playground. Here are some of my favorite ways to switch things up:
Herb‑Infused Delight
Add a tablespoon of dried rosemary or thyme to the dough before kneading. The herbs permeate the crumb, giving the loaf a fragrant, savory note that pairs well with cheese or charcuterie.
Cheesy Crust
Sprinkle shredded cheddar or mozzarella on top before baking. The cheese melts into a golden, bubbly crust, turning the loaf into a party centerpiece.
Sunflower Seed Crunch
Fold in a handful of sunflower seeds during the kneading stage. The seeds add a nutty crunch and a pop of color, making the loaf visually stunning.
Spiced Cinnamon Swirl
Mix in a teaspoon of cinnamon and a pinch of nutmeg before the first rise. The warm spices give the loaf a comforting, autumnal flavor that’s perfect for cooler evenings.
Chocolate‑Chip Surprise
Stir in a handful of dark chocolate chips just before the first rise. The chocolate melts into pockets of gooey sweetness, making the loaf irresistible to kids and adults alike.
Storing and Bringing It Back to Life
Fridge Storage
Wrap the cooled loaf tightly in plastic wrap and store it in the refrigerator for up to 3 days. The cold slows down the yeast, preserving freshness while keeping the crumb moist.
Freezer Friendly
Slice the loaf before freezing, then place the slices in an airtight container or freezer bag. Frozen slices can last up to 2 months and can be toasted directly from the freezer for a quick snack.
Best Reheating Method
To revive the loaf, preheat the oven to 350°F (175°C), wrap the loaf in foil, and heat for 10 minutes. For a crisp crust, remove the foil for the last 5 minutes. A tiny splash of water before reheating steams the loaf back to perfection.