I was standing in the kitchen on a blustery October evening, my phone buzzing with a frantic text from a friend: “I need a dessert that screams Halloween and still feels like a cozy comfort food.” I stared at the empty fridge, the only thing that seemed to fit the bill was a half‑sized tub of cookie dough that had somehow survived a week in the freezer. The moment I opened the lid, a wave of buttery, caramelized sugar hit my nose, and I knew this was the start of something epic. I grabbed my notebook, scribbled a quick list, and declared to myself, “I’m about to create the most unforgettable monster cookie dough dip you’ve ever tasted.”
Picture this: the kitchen is dimly lit by a single flickering candle, a pot of milk on the stove, and the faint hum of the oven timer. As I whisked the butter into the sugar, the aroma of vanilla and browned sugar filled the room, making my mouth water before I even tasted a single spoonful. The sound of the mixer spinning was like a lullaby for the senses, and the sight of the dough thickening into a glossy, almost molten texture felt like a promise of sweet, gooey delight. I could hear the faint clink of a spoon against the mixing bowl, a rhythmic reminder that this was a craft, not a shortcut. The texture was silky, the color a golden amber that made my eyes widen with anticipation.
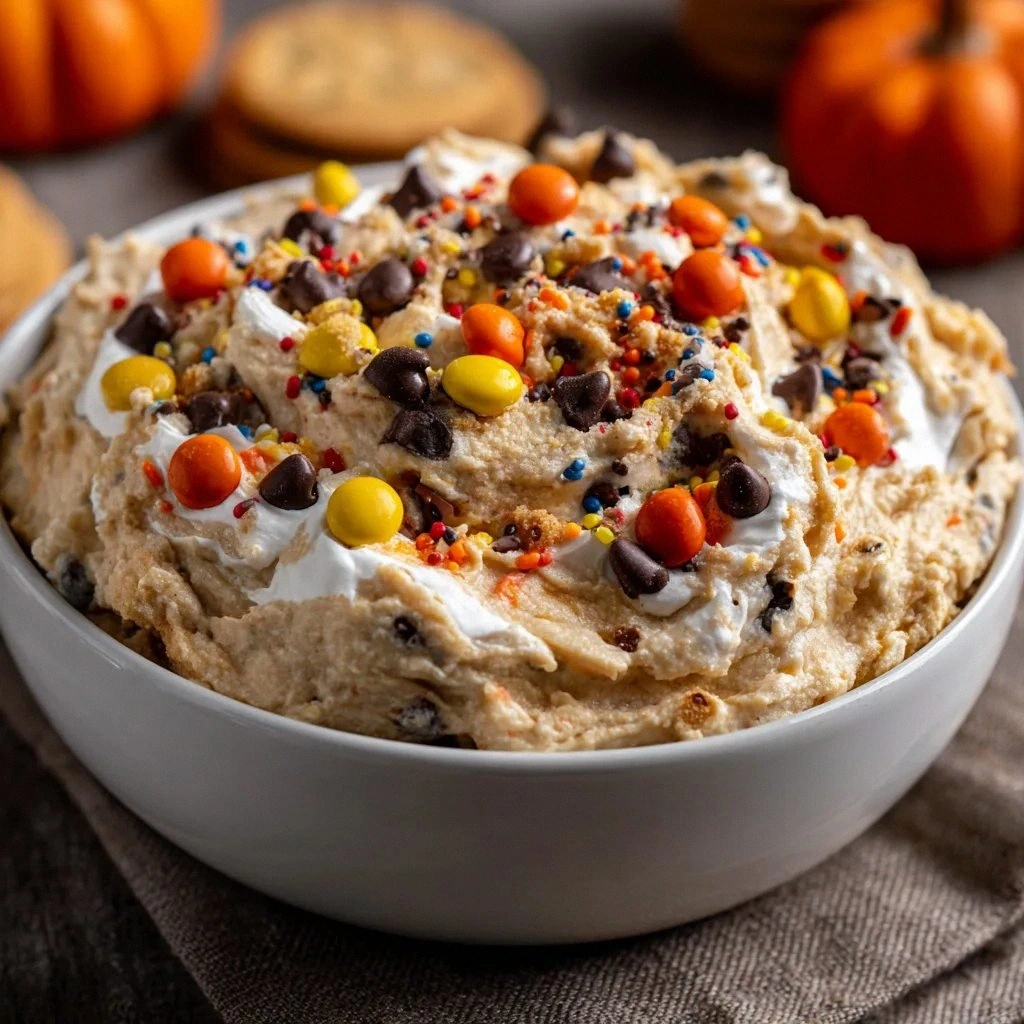
What set this recipe apart from the countless cookie dough dips I've tried over the years was the secret ingredient: whipped cream cheese. It turned a simple, sweet dough into a velvety, slightly tangy base that held the chocolate chips and candy corn in perfect harmony. The combination of creamy cheese and caramelized sugar created a flavor profile that was both nostalgic and daringly new, a sweet symphony that danced on the tongue. I dared anyone who tasted this to resist the urge for a second bite—though I confess, I ate almost half before anyone else could even take a fork. That moment of triumph was a testament to the power of a well‑balanced recipe that doesn’t rely on gimmicks but on pure, honest ingredients.
I knew I had to share this discovery with the world, but I also knew that the key to a great recipe is in the details. From the exact ratio of butter to sugar to the precise temperature of the oven, every step was essential to achieving that perfect gooey center and a crisp, buttery crust. I had spent hours experimenting, tweaking, and refining until the dough didn’t just taste good—it felt like a hug in a bowl. My friends who tried it after the first batch were stunned, some even asking me if it was a new dessert trend. I could feel the excitement building, and I was ready to spill all the secrets.
So buckle up, because I’m about to walk you through every single step—by the end, you’ll wonder how you ever made it any other way. From the moment you open the fridge to the final dip into your favorite snack, this recipe will take you on a culinary adventure that’s as thrilling as a Halloween night. And trust me, once you taste the first spoonful, you’ll be shouting, “I dare you to taste this and not go back for seconds!” The journey begins now, and it’s going to be deliciously terrifying.
What Makes This Version Stand Out
- Flavor: The creamy, tangy base from whipped cream cheese elevates the sweetness, creating a balanced, indulgent taste that’s more complex than a typical cookie dough dip.
- Texture: The dough’s consistency is silky yet thick enough to hold the chocolate chips and candies, offering a satisfying bite that isn’t too runny or too stiff.
- Simplicity: With only nine core ingredients, this recipe keeps the process straightforward while still delivering a gourmet experience.
- Uniqueness: The inclusion of Halloween-themed candies—like candy corn or M&M’s—adds a playful, festive flair that’s impossible to find in standard cookie dough recipes.
- Audience: It’s a crowd‑pleaser that works for both kids who love the fun monster theme and adults who appreciate the sophisticated flavor profile.
- Ingredient Quality: Using high‑quality butter, fresh vanilla extract, and real chocolate chips ensures that each bite is pure, unadulterated deliciousness.
- Cooking Method: Baking the dough just enough to set the edges while keeping the center gooey is a delicate balance that this recipe nails perfectly.
- Make‑Ahead Potential: The dip can be prepared up to 24 hours in advance, making it a convenient option for last‑minute party prep.
Alright, let's break down exactly what goes into this masterpiece…
Inside the Ingredient List
The Flavor Base
All-purpose flour is the backbone of the dip, providing structure and a subtle nutty undertone that balances the sweetness. If you’re allergic to wheat, you can swap it for a gluten‑free blend, but keep the ratio the same to maintain the dough’s integrity. Skipping flour would turn the mixture into a runny mess that won’t hold its shape once baked. For the best results, sift the flour to avoid clumps and to aerate the mixture.
The Texture Crew
Unsalted butter is the star of the show, delivering a buttery richness that coats the palate like velvet. The butter’s fat content melts during baking, creating a silky mouthfeel that makes every bite feel indulgent. If you use salted butter, the extra sodium will overpower the subtle flavors; stick with unsalted for control. A good rule of thumb is to let the butter sit at room temperature until it’s soft enough to press between your fingers, which ensures a smooth blend.
The Unexpected Star
Whipped cream cheese adds a creamy tang that cuts through the sweetness, preventing the dip from becoming cloying. The texture of the cheese keeps the dough from becoming too dense, and its slight acidity balances the caramel notes. If you can’t find whipped cream cheese, a blend of cream cheese and heavy cream will work, though the consistency may be slightly thicker. A pinch of cream cheese also helps the dough set properly, giving you that perfect bite.
The Final Flourish
Mini chocolate chips and Halloween-themed candies provide bursts of flavor and a pop of color that screams party. The chips melt slightly during baking, creating pockets of chocolatey goo that are a delight to discover. Candy corn adds a crunchy texture and a sweet, slightly sugary crunch that contrasts beautifully with the soft dough. If you’re feeling adventurous, replace the candies with chopped chocolate‑covered pretzels for a salty‑sweet twist.
Everything's prepped? Good. Let's get into the real action…
The Method — Step by Step
- Step 1: Prepare the Dough — In a large mixing bowl, combine the softened unsalted butter with brown sugar and granulated sugar. Beat until the mixture is light and fluffy, about 3–4 minutes. The goal is to create a pale, airy texture that indicates the sugars have fully incorporated. This step is crucial; a lumpy dough will not bake evenly.
- Step 2: Add the Cream Cheese — Fold in the whipped cream cheese until the mixture is smooth and homogeneous. The cheese should blend seamlessly, adding a slight tang that balances the sweetness. If the dough feels too thick, add a splash of milk (1–2 tablespoons) to loosen it. The mixture should look like a thick, buttery custard.
- Step 3: Incorporate the Flour — Gradually whisk in the all-purpose flour, one cup at a time, until the dough holds together but remains pliable. Avoid overmixing, or the gluten will develop and create a tough texture. A good indicator is when the dough can be formed into a ball that holds its shape without crumbling. If you’re using a gluten-free blend, stir gently to prevent clumping.
- Step 4: Add Vanilla and Salt — Stir in the vanilla extract and a pinch of salt. The vanilla brings warmth and depth, while the salt sharpens all the sweet flavors. Be careful not to overdo the salt; one teaspoon is sufficient for four servings. Mix until the vanilla is fully incorporated, creating a fragrant aroma that signals the dough is ready.
- Step 5: Fold in the Chocolate Chips and Candies — Gently fold in the mini chocolate chips and Halloween-themed candies. Make sure every bite is guaranteed to have a chocolate or candy surprise. This step is the most fun; the colors of the candies pop against the golden dough, creating a visual feast. Watch out: if you stir too hard, the chips may break and lose their shape.
- Step 6: Shape the Dip — Transfer the dough to a lined baking dish, spreading it out into an even layer about 1.5 inches thick. Press it down gently with a spatula to eliminate air pockets. The surface should be smooth, ready for the oven’s kiss.
- Step 7: Bake to Perfection — Preheat your oven to 350°F (175°C). Bake the dip for 25–30 minutes, or until the edges are golden brown and the center is just set but still slightly soft. The aroma will fill the kitchen, making you feel like a master chef. Keep a close eye; overbaking will dry it out.
- Step 8: Cool and Serve — Let the dip cool in the dish for 10 minutes before transferring it to a serving platter. This resting period allows the flavors to meld and the texture to firm up. Serve with a selection of cookies, crackers, or fresh fruit for dipping. The first bite will have a sweet, buttery crunch followed by a gooey, chocolatey center.
That's it — you did it. But hold on, I've got a few more tricks that'll take this to another level…
Insider Tricks for Flawless Results
The Temperature Rule Nobody Follows
Many bakers assume room temperature butter is enough, but the secret is to let the butter soften until it’s just a bit sticky. This subtle softness allows the butter to blend seamlessly with the sugars, creating a silky base that won’t separate during baking. If you skip this step, the dough can become lumpy and the final texture uneven. I’ve tried using butter straight from the fridge, and the result was a clumpy mess that never quite set.
Why Your Nose Knows Best
The aroma of the dough is a reliable indicator of readiness. As it bakes, the scent of vanilla and caramelized sugar should intensify, signaling that the sugar is properly caramelized. If the smell is faint, let it bake a few more minutes. A strong, sweet aroma means the dough has reached the perfect balance of gooey center and crisp edges.
The 5-Minute Rest That Changes Everything
After baking, let the dip rest for exactly five minutes before serving. This short pause allows the center to set, preventing it from sliding off your fork. It also lets the flavors meld, creating a more cohesive taste profile. Skipping this step can result in a sticky mess that’s hard to eat.
The Sweet Spot for Chocolate Chips
If you prefer a richer chocolate experience, replace half of the mini chocolate chips with dark chocolate chunks. The darker flavor will contrast with the sweet dough, adding depth. However, be mindful that dark chocolate melts faster, so fold it in just before baking to keep its shape. This tweak is perfect for chocolate lovers who want a more intense bite.
The Trick to a Perfectly Golden Edge
To achieve a golden, crisp edge without overbaking the center, use a baking sheet with a heat‑resistant coating. This allows heat to circulate evenly, giving the edges that coveted crunch. I’ve found that a silicone baking mat works wonders, preventing sticking and ensuring a clean release. The result is a dip that looks as good as it tastes.
The Secret to a Smooth, Creamy Finish
If you’re aiming for an ultra‑smooth finish, whisk the dough for an additional minute after adding the flour. The extra whisking helps distribute the butter evenly, preventing lumps. This step is optional but highly recommended for a silky texture that melts in your mouth.
Creative Twists and Variations
Spicy Pumpkin Swirl
Add a tablespoon of pumpkin puree to the dough for a subtle, autumnal flavor. Mix in a pinch of cinnamon and nutmeg for warmth. This variation is perfect for a Halloween party that leans toward comfort food vibes. The pumpkin adds a moist, slightly sweet undertone that complements the chocolate chips.
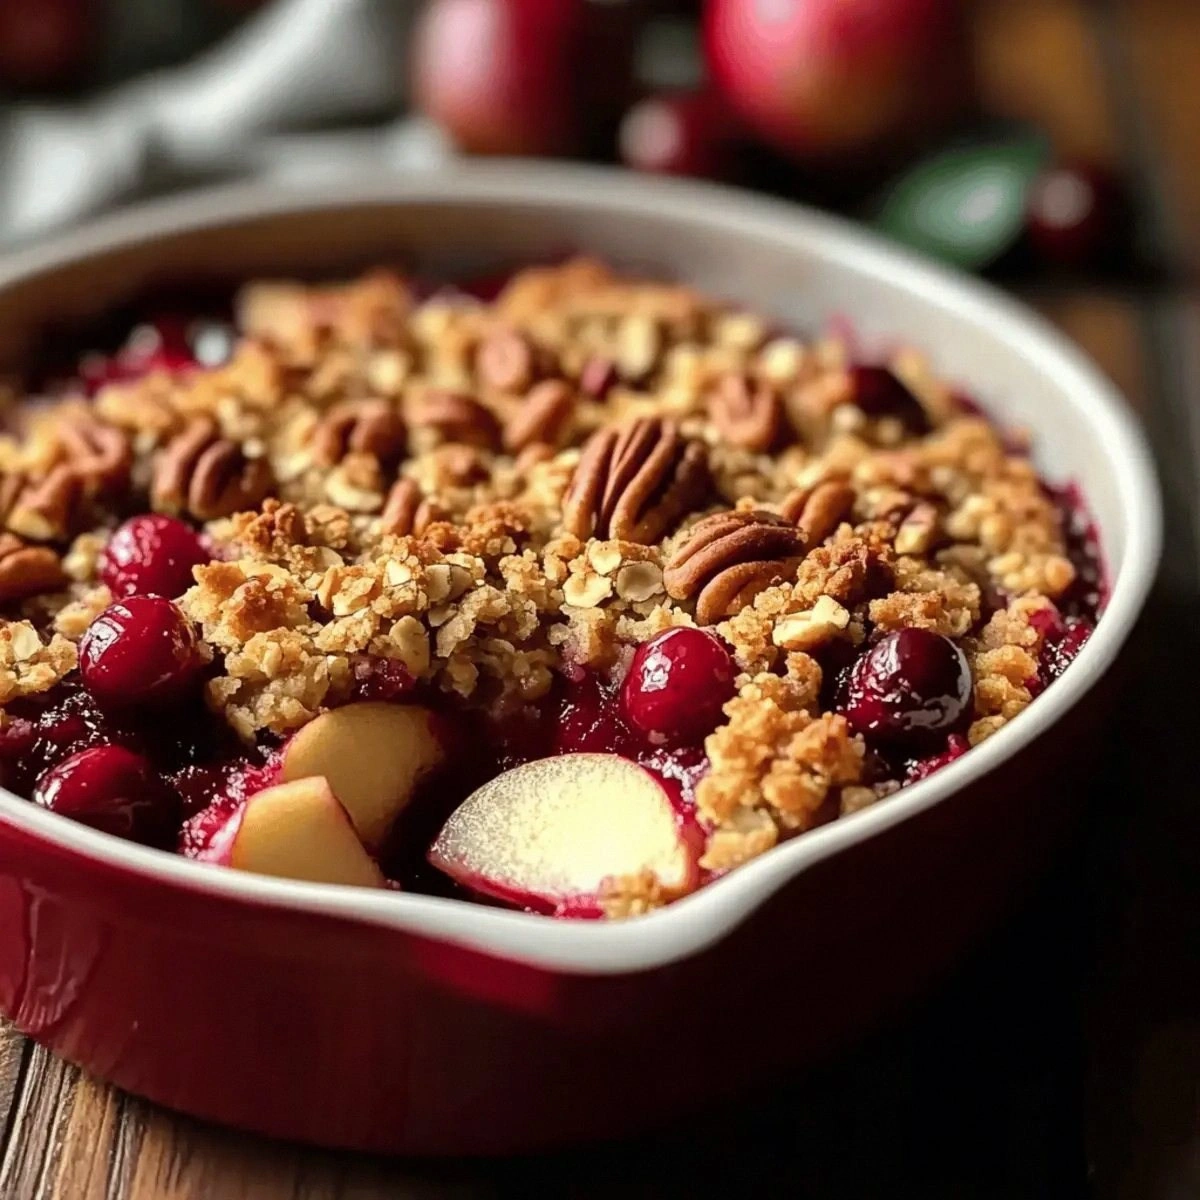
Nutty Caramel Crunch
Replace the vanilla with a splash of maple syrup and stir in chopped pecans or walnuts. The nutty crunch offers a delightful contrast to the gooey center. This version is a hit among guests who appreciate a richer, more complex flavor profile.
Berry Monster Surprise
Fold in a handful of dried cranberries or raisins for a burst of tartness. The dried fruit pairs nicely with the sweet dough, adding a chewy texture. This twist is ideal for those who enjoy a balance of sweet and tart.
Citrus Zest Delight
Grate the zest of one orange into the dough for a bright, citrusy note. The zest adds a fresh, fragrant layer that cuts through the sweetness. This variation works wonderfully for a lighter, more refreshing dessert.
Malted Chocolate Explosion
Swap the mini chocolate chips for malted milk balls or malted chocolate pieces. The malt adds a subtle caramel flavor that pairs beautifully with the butter. This version is a crowd‑pleaser for chocolate aficionados.
Gingerbread Monster
Incorporate a teaspoon of gingerbread spice blend and a dash of molasses for a holiday twist. The spices give the dip a warm, spiced aroma that’s perfect for winter celebrations. The molasses adds depth and a slightly bittersweet finish.
Storing and Bringing It Back to Life
Fridge Storage
Cover the cooled dip tightly with plastic wrap and store it in the refrigerator for up to 48 hours. The cold will firm up the dough, making it easier to slice into neat portions. When ready to serve, let it sit at room temperature for 10 minutes to soften slightly.
Freezer Friendly
For longer storage, wrap the dip in parchment paper and then aluminum foil before placing it in a freezer-safe container. It will keep well for up to 3 months. Thaw overnight in the refrigerator, then let it rest at room temperature for 15 minutes before serving.
Best Reheating Method
Reheat the dip gently in a low‑heat oven (300°F) for 5–7 minutes, or until warmed through. Add a splash of milk or cream to restore moisture and prevent it from drying out. The dip will regain its silky texture and gooey center, ready to be devoured.