I was standing in my kitchen, half‑heartedly scrolling through endless “low‑carb mac and cheese” posts, when a friend dared me to swap the carb‑heavy noodles for something that actually looks like pasta but isn’t. I grabbed the biggest spaghetti squash I could find, tossed it in the oven, and the whole place filled with a buttery, nutty aroma that made me forget I was even trying to be healthy. The moment the squash split open, steam rushed out like a tiny, fragrant volcano, and I knew I was onto something that could change the way we think about comfort food forever. This isn’t just a side dish; it’s a full‑on, guilt‑free indulgence that will have you questioning every other mac and cheese you’ve ever made.
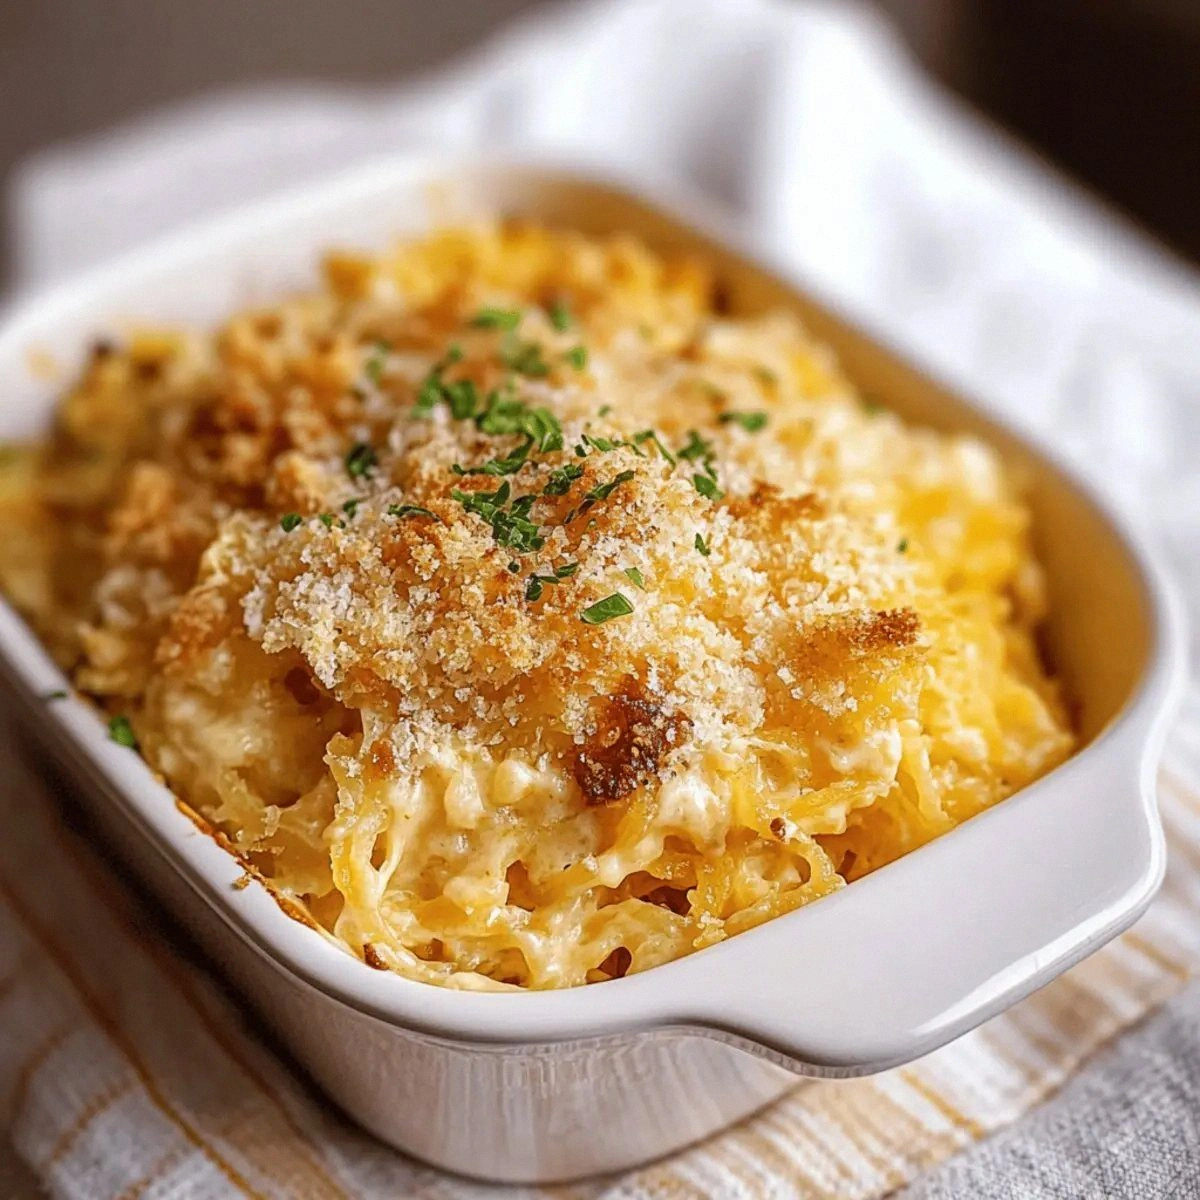
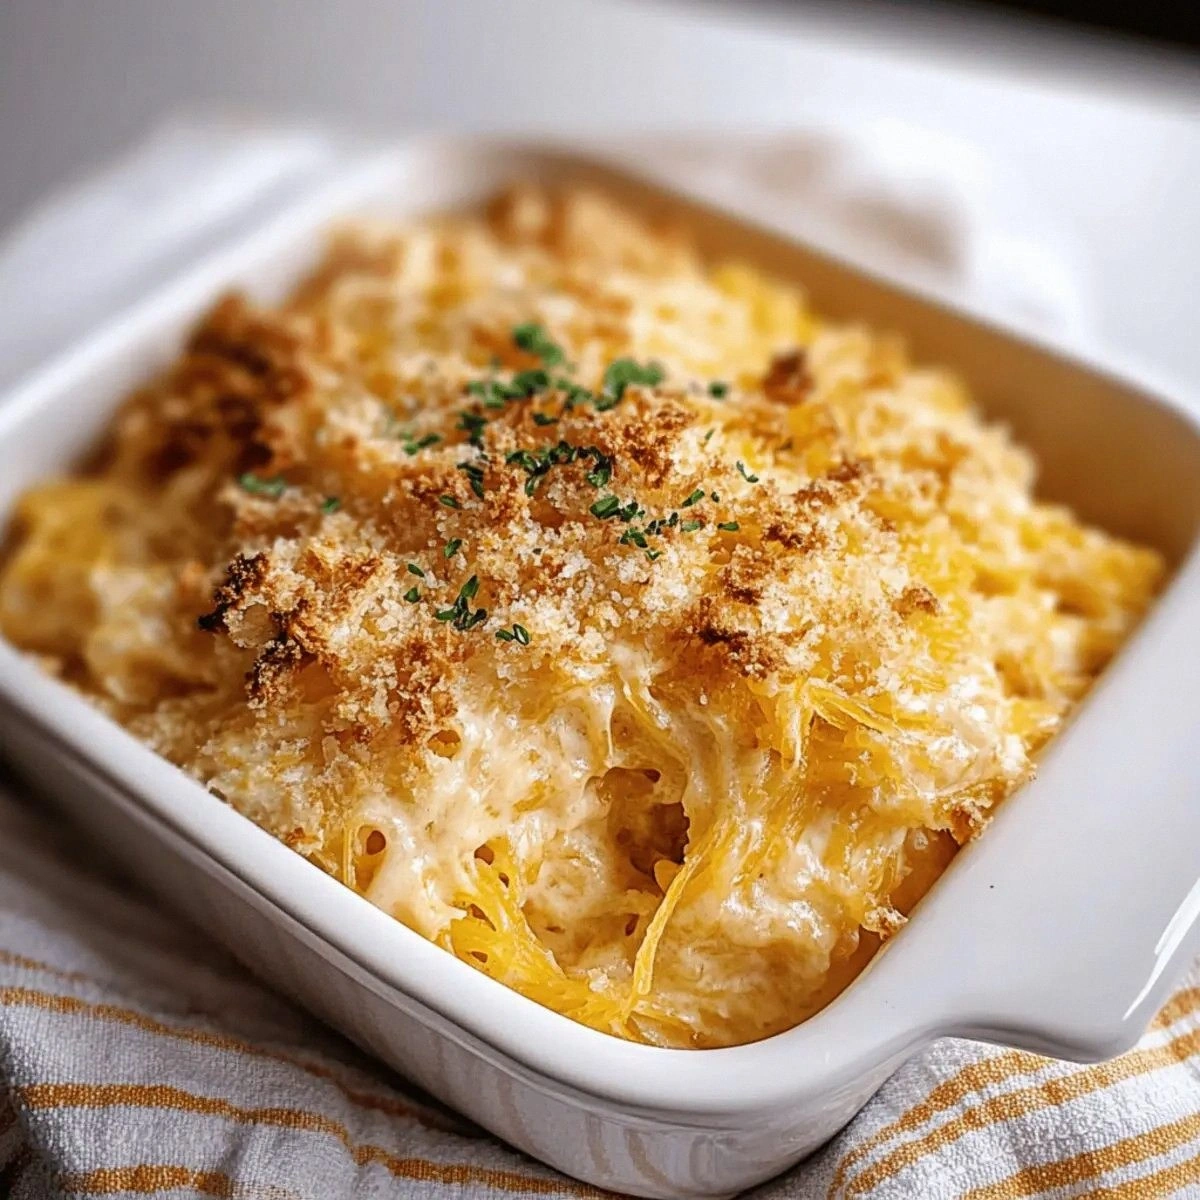
Picture this: a golden‑brown crust that cracks with a satisfying snap, revealing creamy, cheesy strands that cling to each other like velvet ribbons. The scent of toasted breadcrumbs mingles with the sharp bite of cheddar, while a whisper of garlic and black pepper dances on the tongue. You’ll hear the faint sizzle as the cheese melts, feel the warm, buttery texture against your spoon, and taste the perfect balance of richness and lightness that only a vegetable‑based noodle can deliver. I dare you to taste this and not go back for seconds – the temptation is real, and the satisfaction is even more so.
Most recipes get this completely wrong. They either over‑cook the squash, turning it mushy, or they skimp on the cheese, leaving you with a bland, sad casserole. Here’s what actually works: a two‑step roasting method that gives the squash a caramelized edge, a sour‑cream‑based sauce that stays silky without curdling, and a crunchy topping that shatters like thin ice under a fork. The secret ingredient? A pinch of sea salt that amplifies every flavor, making the dish taste richer than it actually is. And the best part? You only need seven ingredients, none of which are exotic or pricey.
I’ll be honest — I ate half the batch before anyone else got to try it, and that was the most satisfying food‑theft moment of my life. This is hands down the best version you’ll ever make at home, and I’m about to walk you through every single step — by the end, you’ll wonder how you ever made it any other way. Okay, ready for the game‑changer? Let’s dive in.
What Makes This Version Stand Out
- Texture: The squash strands stay firm, offering a bite that mimics al dente pasta while the cheese sauce cloaks them in silky smoothness.
- Flavor Depth: Garlic powder, sea salt, and black pepper create a layered flavor profile that deepens as it cools.
- Crunch Factor: The breadcrumb topping turns golden and crisp, providing a satisfying contrast to the creamy interior.
- Simplicity: Only seven ingredients, all pantry‑friendly, mean you can whip this up on a weeknight without a grocery run.
- Health Halo: Swapping noodles for squash cuts carbs dramatically while keeping the indulgent cheese factor intact.
- Make‑Ahead Magic: Assemble ahead, refrigerate, and bake when you’re ready – perfect for busy families.
- Crowd‑Pleaser: Even the pickiest eaters (yes, even the teenage skeptics) can’t resist the cheesy, crunchy allure.
- Versatility: Swap breadcrumbs for pork rind crumbs for a low‑carb crunch, or add a dash of smoked paprika for a smoky twist.
Inside the Ingredient List
The Flavor Base
The sour cream is the unsung hero that keeps the sauce from turning grainy. Its slight tang cuts through the richness of the cheddar, creating a balanced mouthfeel that feels luxurious without being overwhelming. If you skip the sour cream, you’ll end up with a sauce that separates under heat, turning your dish into a cheese‑laden disaster. As a swap, you can use Greek yogurt for a tangier note, but be sure to temper it to avoid curdling.
The Texture Crew
Shredded cheddar cheese provides that classic stretch and melt we all love. Choose a sharp cheddar for a punchier flavor, or blend with mozzarella if you crave extra gooeyness. The breadcrumb (or pork rind crumb) topping is what gives this dish its signature crunch. Opt for panko for an airy crisp or pork rind crumbs for a zero‑carb version that still delivers that satisfying snap. Skipping the topping will leave you with a soggy top layer, which is a culinary tragedy.
The Unexpected Star
Sea salt isn’t just seasoning; it’s a flavor amplifier. A teaspoon might sound modest, but it draws out the natural sweetness of the squash and intensifies the cheddar’s depth. If you’re watching sodium, use a reduced‑sodium sea salt or a pinch of kosher salt, but don’t go completely salt‑free – the dish will taste flat.
The Final Flourish
Garlic powder and ground black pepper add aromatic warmth and a subtle heat that lingers on the palate. Fresh garlic could work, but it risks burning during the high‑heat bake, resulting in bitterness. The combination of these two spices ensures every bite is layered, not one‑dimensional. When selecting black pepper, grind it fresh for the brightest flavor; pre‑ground pepper can taste stale after a few weeks.
Everything's prepped? Good. Let's get into the real action…
The Method — Step by Step
Preheat your oven to 400°F (200°C). Slice the spaghetti squash in half lengthwise, scoop out the seeds, and brush the flesh with a drizzle of olive oil. Place the halves cut‑side down on a baking sheet lined with parchment. The squash should roast for about 35‑40 minutes, until the flesh is tender enough that a fork can easily pull it into strands. Sensory checkpoint: you’ll hear a faint crackle as the edges caramelize, and the kitchen will start smelling like toasted pumpkin.
Kitchen Hack: To speed up the process, cut the squash into quarters before roasting; this reduces cooking time by about 10 minutes.While the squash roasts, prepare the cheese sauce. In a medium saucepan over low heat, combine 1 cup sour cream with 2 cups shredded cheddar cheese. Stir constantly, allowing the cheese to melt slowly; this prevents the sauce from separating. Add 1 teaspoon sea salt, 1 teaspoon garlic powder, and 1 teaspoon ground black pepper. Once the sauce is glossy and coats the back of a spoon, remove from heat. Quick tip: That sizzle when it hits the pan? Absolute perfection.
When the squash is done, let it cool just enough to handle. Using a fork, gently scrape the flesh to create spaghetti‑like strands, letting them fall into a large mixing bowl. If any strands are stubborn, give them a quick toss with a wooden spoon – you want them separated but not mushy.
Watch Out: Over‑scraping can turn the strands into a puree; stop as soon as you see distinct noodle‑like ribbons.Combine the squash strands with the cheese sauce, tossing gently until every strand is evenly coated. The sauce should cling like velvet, not pool at the bottom. If the mixture looks dry, add a splash (about 2 Tbsp) of the squash roasting liquid – it’s packed with flavor.
Transfer the coated squash mixture into a 9‑x‑13‑inch baking dish, spreading it out in an even layer. Sprinkle the top with 1 cup of breadcrumbs (or pork rind crumbs) for that crunchy crown. Drizzle a tiny bit of melted butter over the crumbs to encourage browning – this is where the magic happens.
Place the dish back in the oven and bake at 375°F (190°C) for 20‑25 minutes, or until the topping turns golden‑brown and the edges start pulling away from the sides. Visual cue: The cheese will bubble and the crumbs will form a crust that shatters like thin ice when you dig in.
Kitchen Hack: For an extra cheesy top, sprinkle a handful of extra cheddar in the last 5 minutes of baking.Remove the casserole from the oven and let it rest for 5 minutes. This rest period allows the sauce to thicken slightly, making each serving cleaner and less likely to slide off the plate.
Serve hot, pulling out a forkful of those glossy strands and watching the breadcrumb crust crack under the pressure. Picture yourself pulling this out of the oven, the whole kitchen smelling incredible, and the first bite delivering a perfect blend of creamy, cheesy, and crunchy. And now the fun part – dig in and tell me you didn’t go back for seconds. That’s it — you did it. But hold on, I’ve got a few more tricks that'll take this to another level…
Insider Tricks for Flawless Results
The Temperature Rule Nobody Follows
Most home cooks bake at 350°F and wonder why the topping never crisps. Cranking the oven up to 375°F after the sauce has set creates a rapid Maillard reaction, giving you that golden, crackly crust without overcooking the interior. I once tried a lower temp to “be gentle,” and the result was a soggy, sad casserole that looked more like a cheese fondue than mac and cheese.
Why Your Nose Knows Best
When the cheese starts to bubble and a buttery aroma fills the kitchen, that’s your cue that the dish is nearly done. Trust that nose signal more than the timer – ovens vary, and the scent is a reliable indicator of that perfect melt‑and‑crisp moment.
The 5‑Minute Rest That Changes Everything
Letting the casserole sit for five minutes after baking lets the sauce thicken and the crumbs settle. Skipping this step results in a runny plate and a crumbly top that slides off. A quick rest is like letting a good wine breathe – the flavors become more cohesive.
Breadcrumb Butter Boost
Melt a tablespoon of butter and toss it with the breadcrumbs before sprinkling them on top. This tiny fat addition creates a glossy, deeper‑gold crust that shatters beautifully. If you’re avoiding dairy, replace butter with olive oil for a Mediterranean twist.
Spice Layering Magic
Add a pinch of smoked paprika or a dash of cayenne to the cheese sauce for an unexpected depth. The subtle heat won’t overpower the cheddar but will give the dish a lingering warmth that keeps you reaching for more.
Creative Twists and Variations
This recipe is a playground. Here are some of my favorite ways to switch things up:
Smoky Chipotle Kick
Swap the plain garlic powder for 1 teaspoon of chipotle powder and add a splash of smoked paprika. The result is a smoky, mildly spicy mac that pairs perfectly with grilled chicken or a crisp salad.
Herb‑Infused Green
Stir in ¼ cup chopped fresh basil and 2 tablespoons of parsley into the cheese sauce. The herbaceous notes brighten the dish, making it feel lighter and more spring‑like.
Pork Rind Power
Replace breadcrumbs with pork rind crumbs for a zero‑carb, ultra‑crunchy topping. It adds a subtle porky flavor that’s especially appealing to low‑carb enthusiasts.
Vegan Velvet
Swap sour cream for coconut yogurt, use a vegan cheddar blend, and replace breadcrumbs with crushed almond flour. The texture stays creamy, and the flavor remains indulgent, proving you don’t need dairy to feel decadent.
Mediterranean Medley
Add ½ cup diced sun‑dried tomatoes and ¼ cup crumbled feta into the mix before baking. The tangy feta and sweet tomatoes create a Mediterranean spin that’s perfect for a summer dinner.
Storing and Bringing It Back to Life
Fridge Storage
Let the casserole cool completely, then cover tightly with foil or a lid and refrigerate. It will keep fresh for up to 4 days. When reheating, place a splash of water (about 2 Tbsp) over the top, cover with foil, and bake at 350°F for 15‑20 minutes until heated through.
Freezer Friendly
Portion the baked casserole into freezer‑safe containers, label, and freeze for up to 2 months. Thaw overnight in the fridge, then reheat as you would a refrigerated batch, adding a bit more water if the sauce looks dry.
Best Reheating Method
For the crispiest topping, reheat uncovered for the last 5 minutes of the reheating cycle. The added water creates steam that revives the sauce, while the uncovered time restores the golden crust.